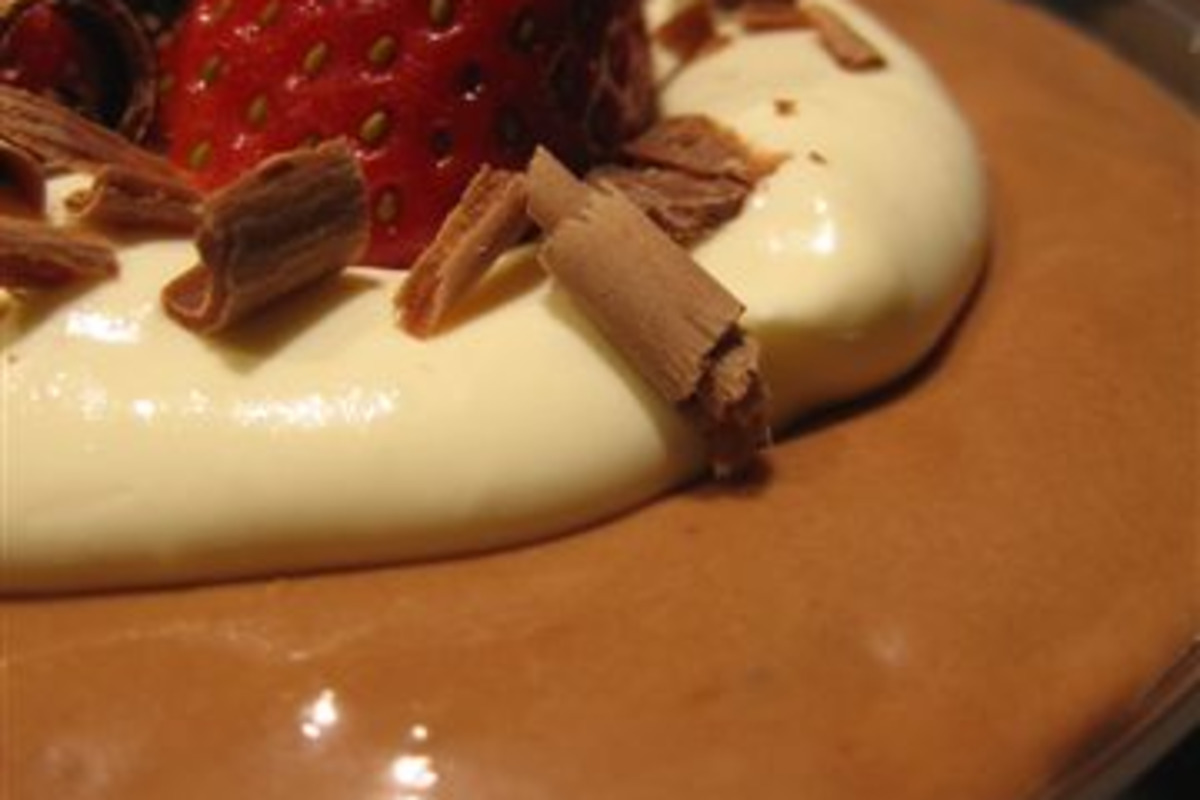
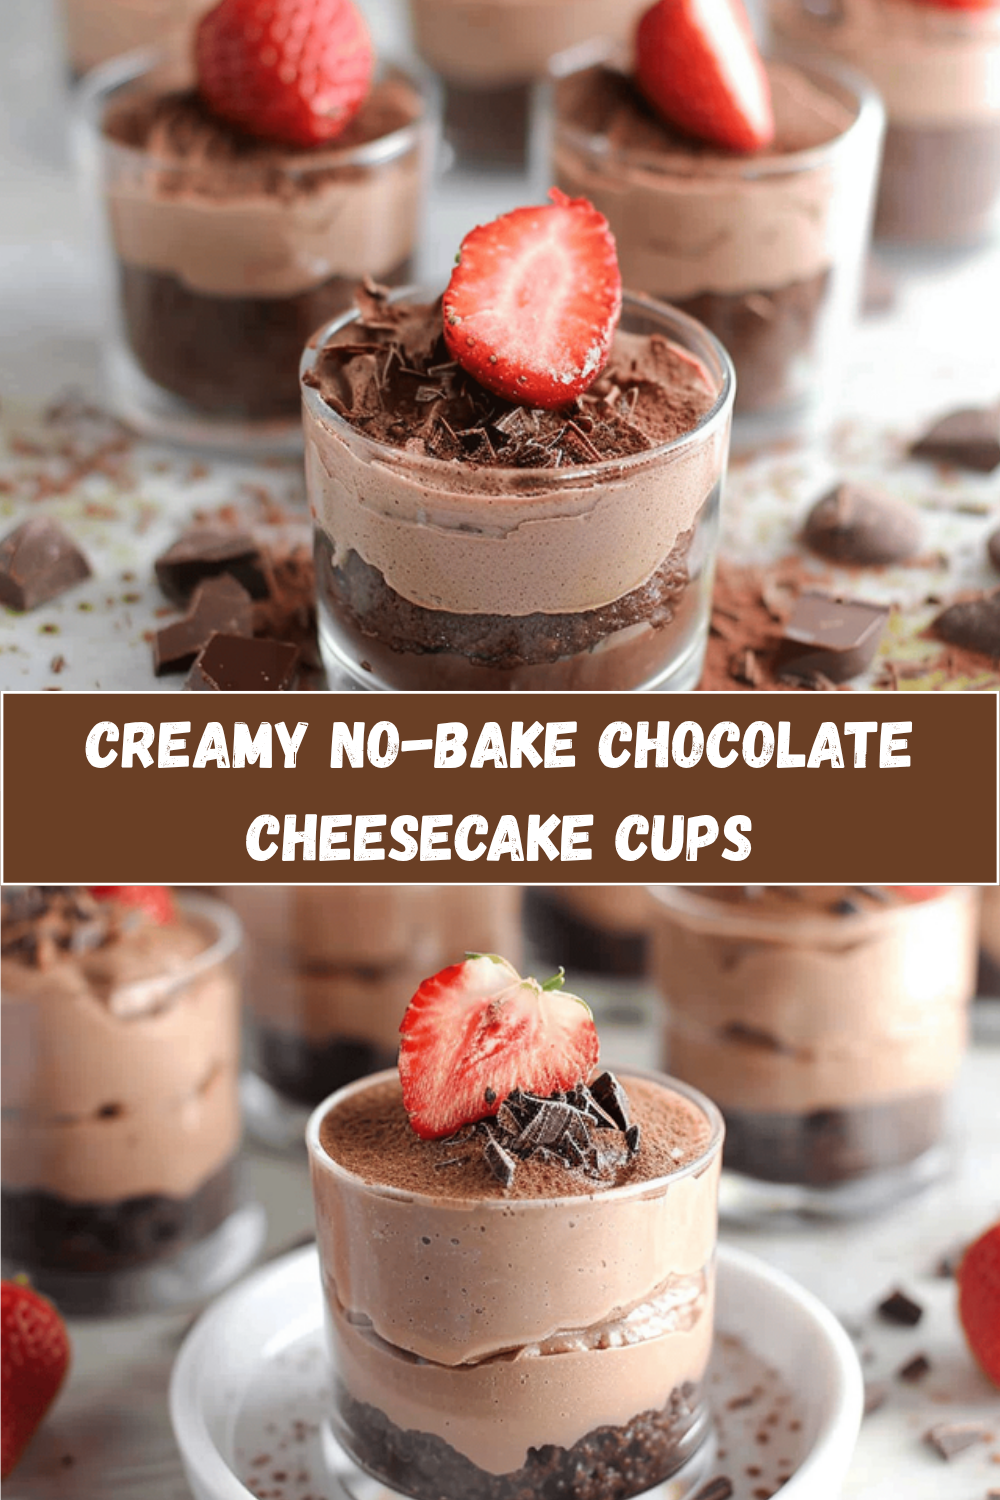
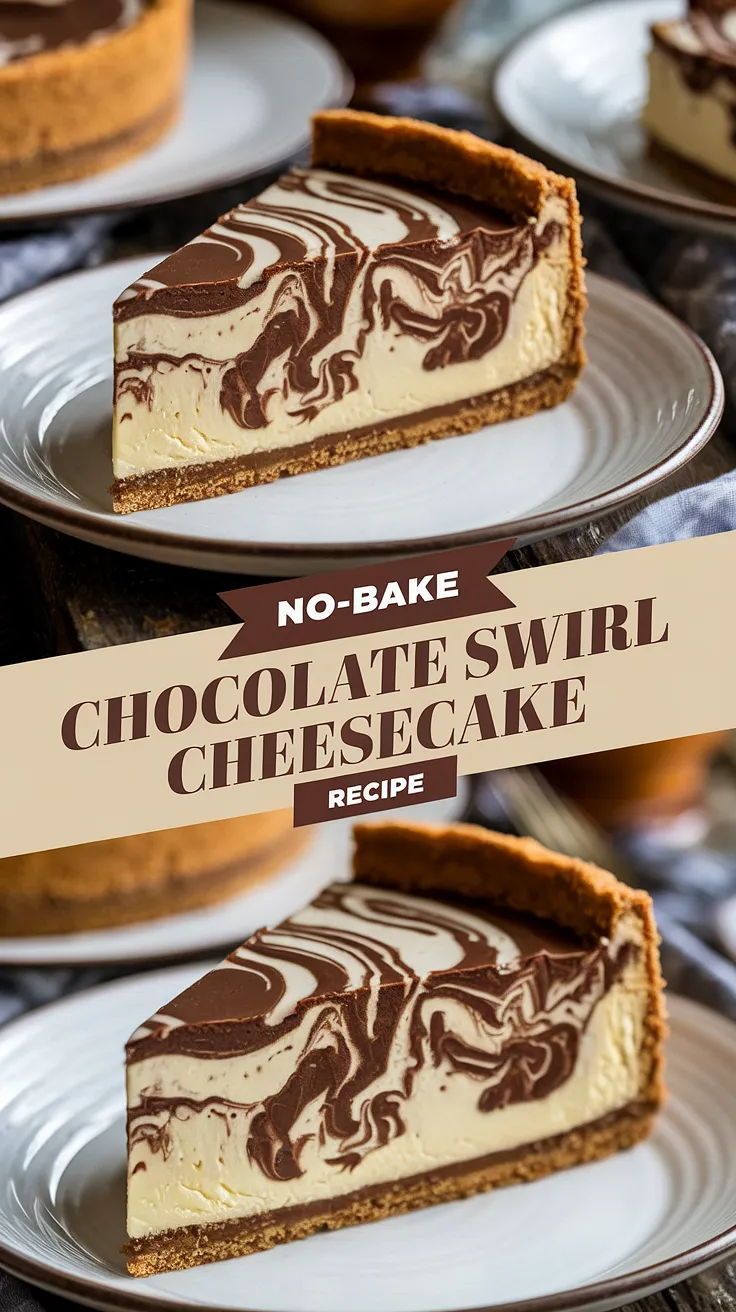
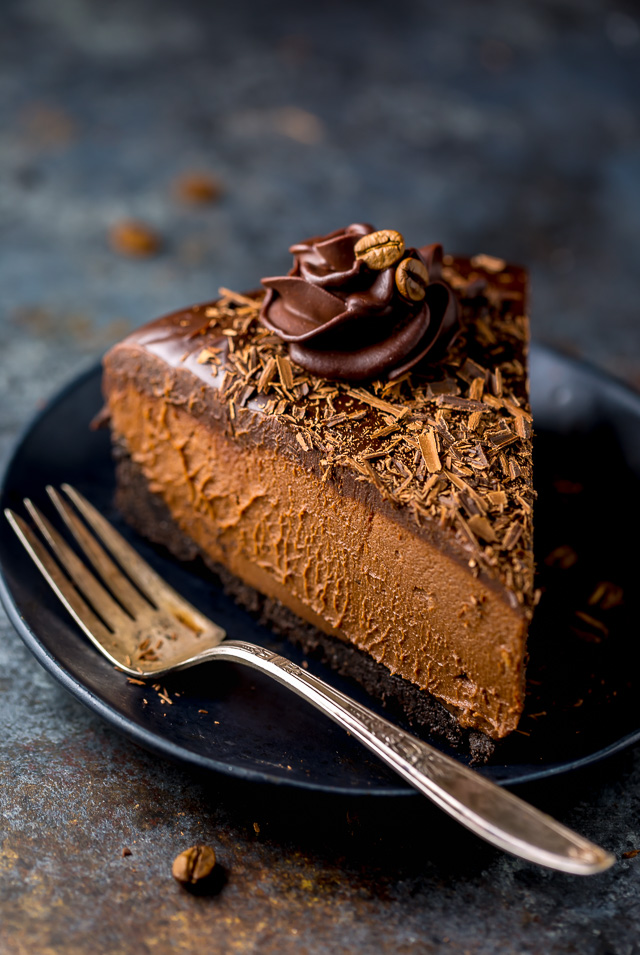
No-Bake Chocolate Espresso Cheesecake
A rich, velvety no-bake cheesecake infused with bold espresso and dark chocolate, perfect for an elegant dinner party finish. This american-inspired desserts ready in about 30 minutes layers graham cracker crumbs, unsalted butter, melted, dark chocolate (70% cocoa), chopped into a dessert worth slowing down for — great for weekend baking, holiday tables, or any time you want a sweet payoff at the end of a meal. Each serving lands at about 420 calories and feeds 12, so it slots into a weekend bake or a special-occasion dessert tray. Tap "Plan a meal with the AI" below to drop this recipe into your week and send the ingredients straight to Instacart. Nutrition values are approximate, calculated from USDA FoodData Central (fdc.nal.usda.gov) — verify against ingredient labels for any health-driven dietary plan.
Ingredients
- 1 1/2 cups graham cracker crumbs
- 6 tbsp unsalted butter, melted
- 6 oz dark chocolate (70% cocoa), chopped
- 16 oz cream cheese, softened
- 3/4 cup granulated sugar
- 1 cup heavy cream
- 2 tsp instant espresso powder
- 1 tsp vanilla extract
- 2 tbsp powdered sugar
Instructions
- Step 1: Preheat oven to 350°F. In a medium bowl, combine 1 1/2 cups graham cracker crumbs with 6 tbsp melted unsalted butter. Mix until crumbs are evenly moistened. Press mixture firmly into the bottom of a 9-inch springform pan to form an even crust. Bake for 10 minutes until fragrant and set, then remove and cool.
- Step 2: While the crust bakes, melt 6 oz chopped dark chocolate in a heatproof bowl over simmering water, stirring until smooth. Remove from heat and let cool slightly.
- Step 3: In a large bowl, beat 16 oz softened cream cheese with 3/4 cup granulated sugar until smooth and fluffy, about 3 minutes using an electric mixer.
- Step 4: Dissolve 2 tsp instant espresso powder in 1/4 cup hot water until clear, then add to the cream cheese mixture along with 1 tsp vanilla extract. Beat until combined.
- Step 5: Whip 1 cup heavy cream with 2 tbsp powdered sugar in a chilled bowl until stiff peaks form. Gently fold the whipped cream and melted chocolate into the cream cheese mixture until fully incorporated and smooth.
- Step 6: Pour the cheesecake filling over the cooled crust and smooth the top with a spatula. Refrigerate for at least 6 hours or overnight until firm.
- Step 7: Before serving, remove the cheesecake from the springform pan and garnish with shaved chocolate or a dusting of cocoa powder if desired.
Frequently asked questions
How long does No-Bake Chocolate Espresso Cheesecake take to make?
Total time is about 30 minutes (20 min prep + 10 min cook). Most home bakers find this fits a weekend afternoon; chill or store as the recipe directs before serving.
How do I store leftover No-Bake Chocolate Espresso Cheesecake?
Cool fully before storing. Most baked desserts keep at room temperature in an airtight container for 2–3 days, or in the fridge for up to 5 days. Cream- or custard-based desserts must go in the fridge within 2 hours; reheat gently or serve cold per the recipe.
Can I substitute ingredients in No-Bake Chocolate Espresso Cheesecake?
Yes — most ingredients in this recipe have flexible swaps. For oil, use any neutral high-smoke-point oil (avocado, grapeseed, refined coconut). For aromatics, dried herbs at ⅓ the volume of fresh work in a pinch. The full ingredient list is shoppable on Instacart so you can see substitutes in real time.
How do I scale No-Bake Chocolate Espresso Cheesecake for a different number of people?
The recipe is written for 12 servings. Multiply each ingredient by (your serving target / 12). Cook time stays roughly the same up to 2x; for 3-4x batches, switch from a skillet to a sheet pan or stockpot so the food isn't crowded — overcrowding steams instead of browns.
What goes well with No-Bake Chocolate Espresso Cheesecake?
American desserts like this pair well with a simple grain (rice, couscous, or crusty bread), a quick salad with acid (lemon vinaigrette, pickled onions), and a pan sauce or yogurt-based dip. Tap "Plan a meal with the AI" to get specific side suggestions.
Related recipes

Equipment for this recipe
Top-rated tools to make this recipe successfully.