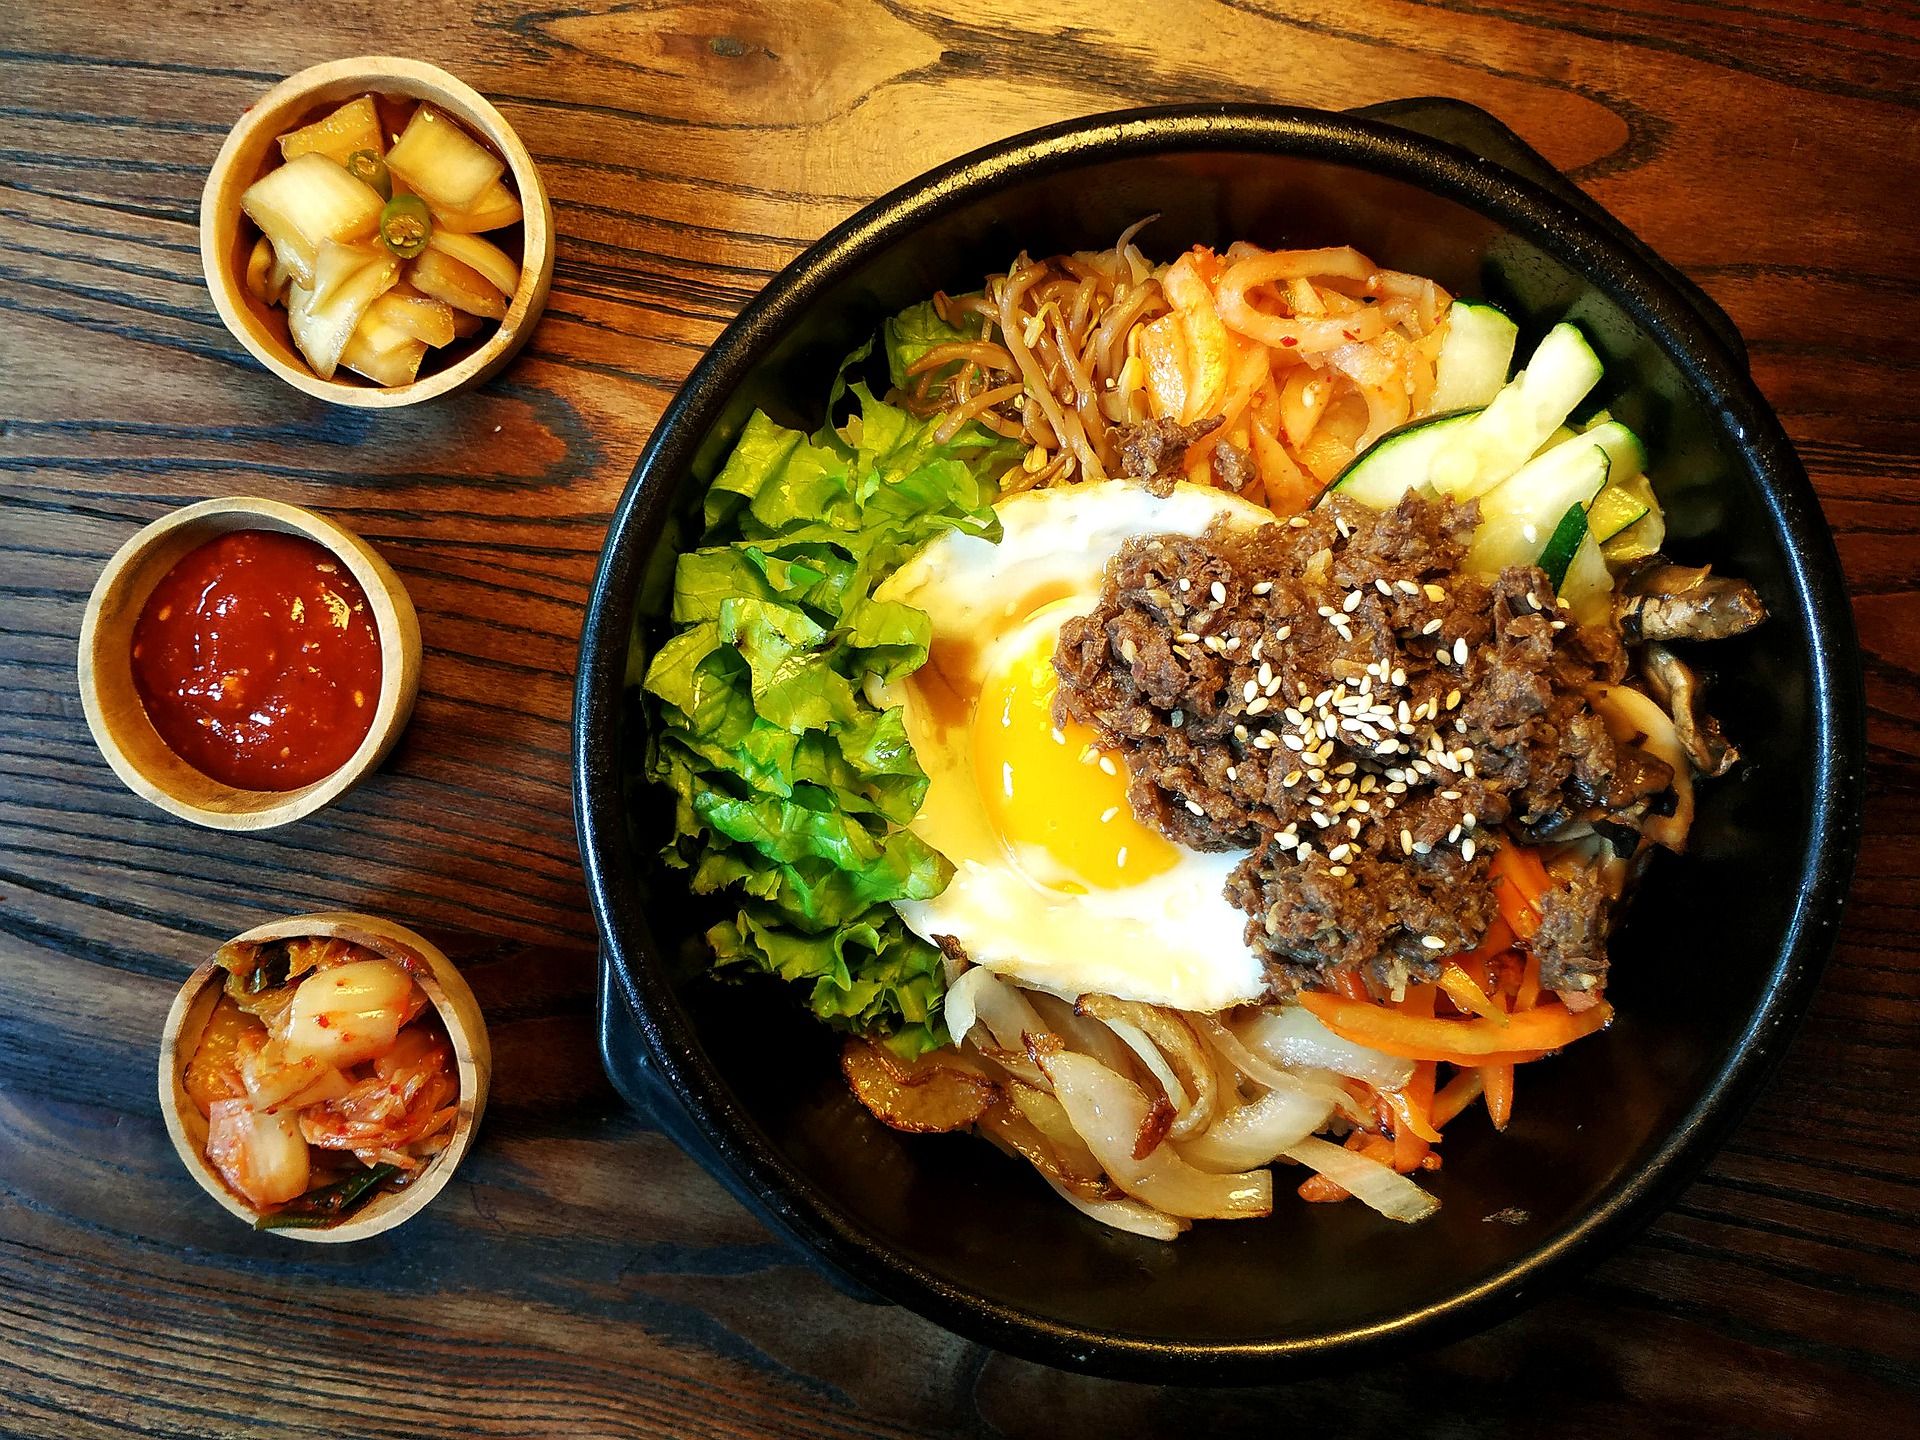
Korean Kimchi Beef Bibimbap
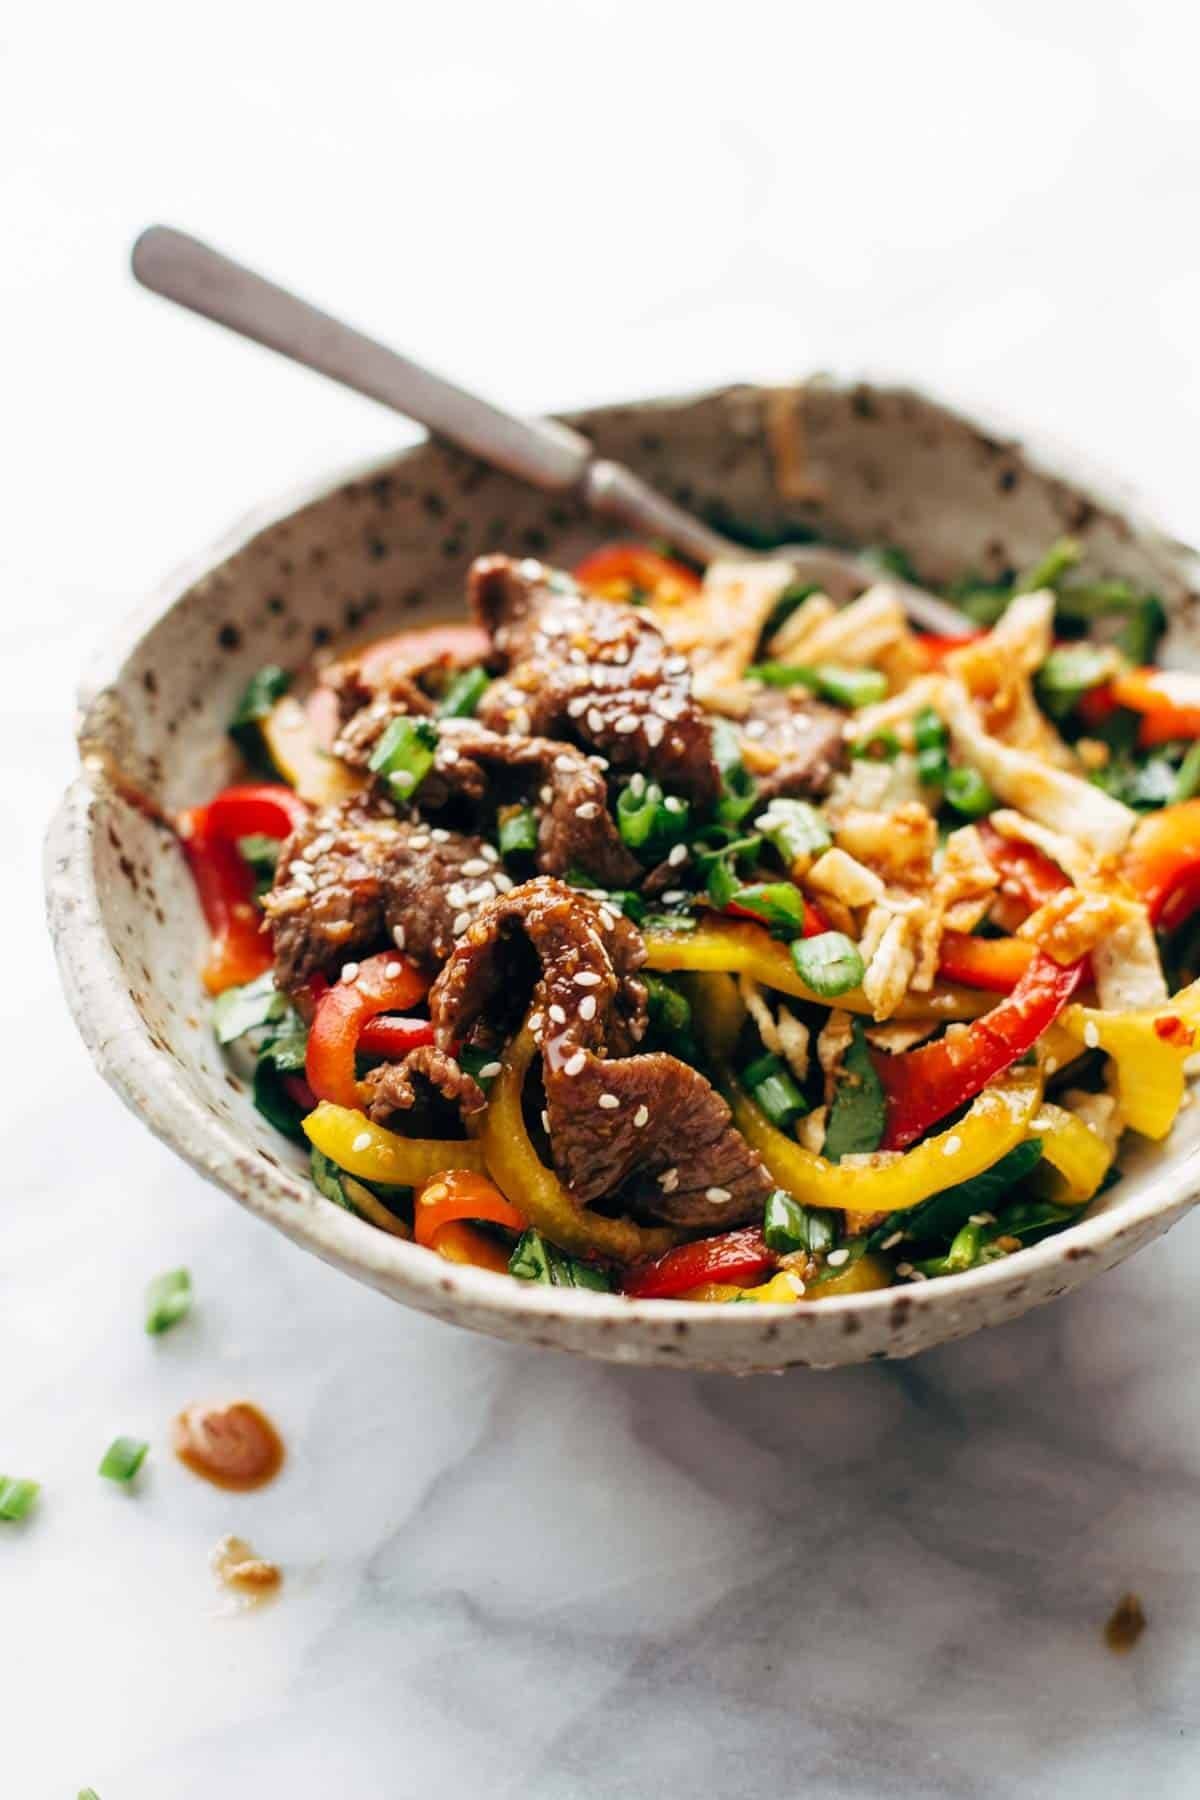
A colorful Korean rice bowl with marinated beef, kimchi, vegetables, and a fried egg. This korean-inspired beef (vegetarian-friendly) ready in about 45 minutes pairs beef sirloin, kimchi, rice for a weeknight-friendly dinner that comes together with one pan and minimal cleanup. Each serving lands at about 400 calories and feeds 4, so it slots cleanly into a weekly meal plan and pairs well with a quick salad or grain on the side. Tap "Plan a meal with the AI" below to drop this recipe into your week and send the ingredients straight to Instacart. Nutrition values are approximate, calculated from USDA FoodData Central (fdc.nal.usda.gov) — verify against ingredient labels for any health-driven dietary plan.
Ingredients
- 1 lb beef sirloin
- 1 cup kimchi
- 2 cups rice
- 1 cup carrots
- 1 cup spinach
- 2 egg
Instructions
- Step 1: Rinse 2 cups rice under cold water until the water runs clear, then add to a pot with 3 cups water. Bring to a boil, reduce heat to low, cover, and simmer for 15 minutes. Fluff with a fork and set aside. Tip: Use a rice cooker for even cooking if available.
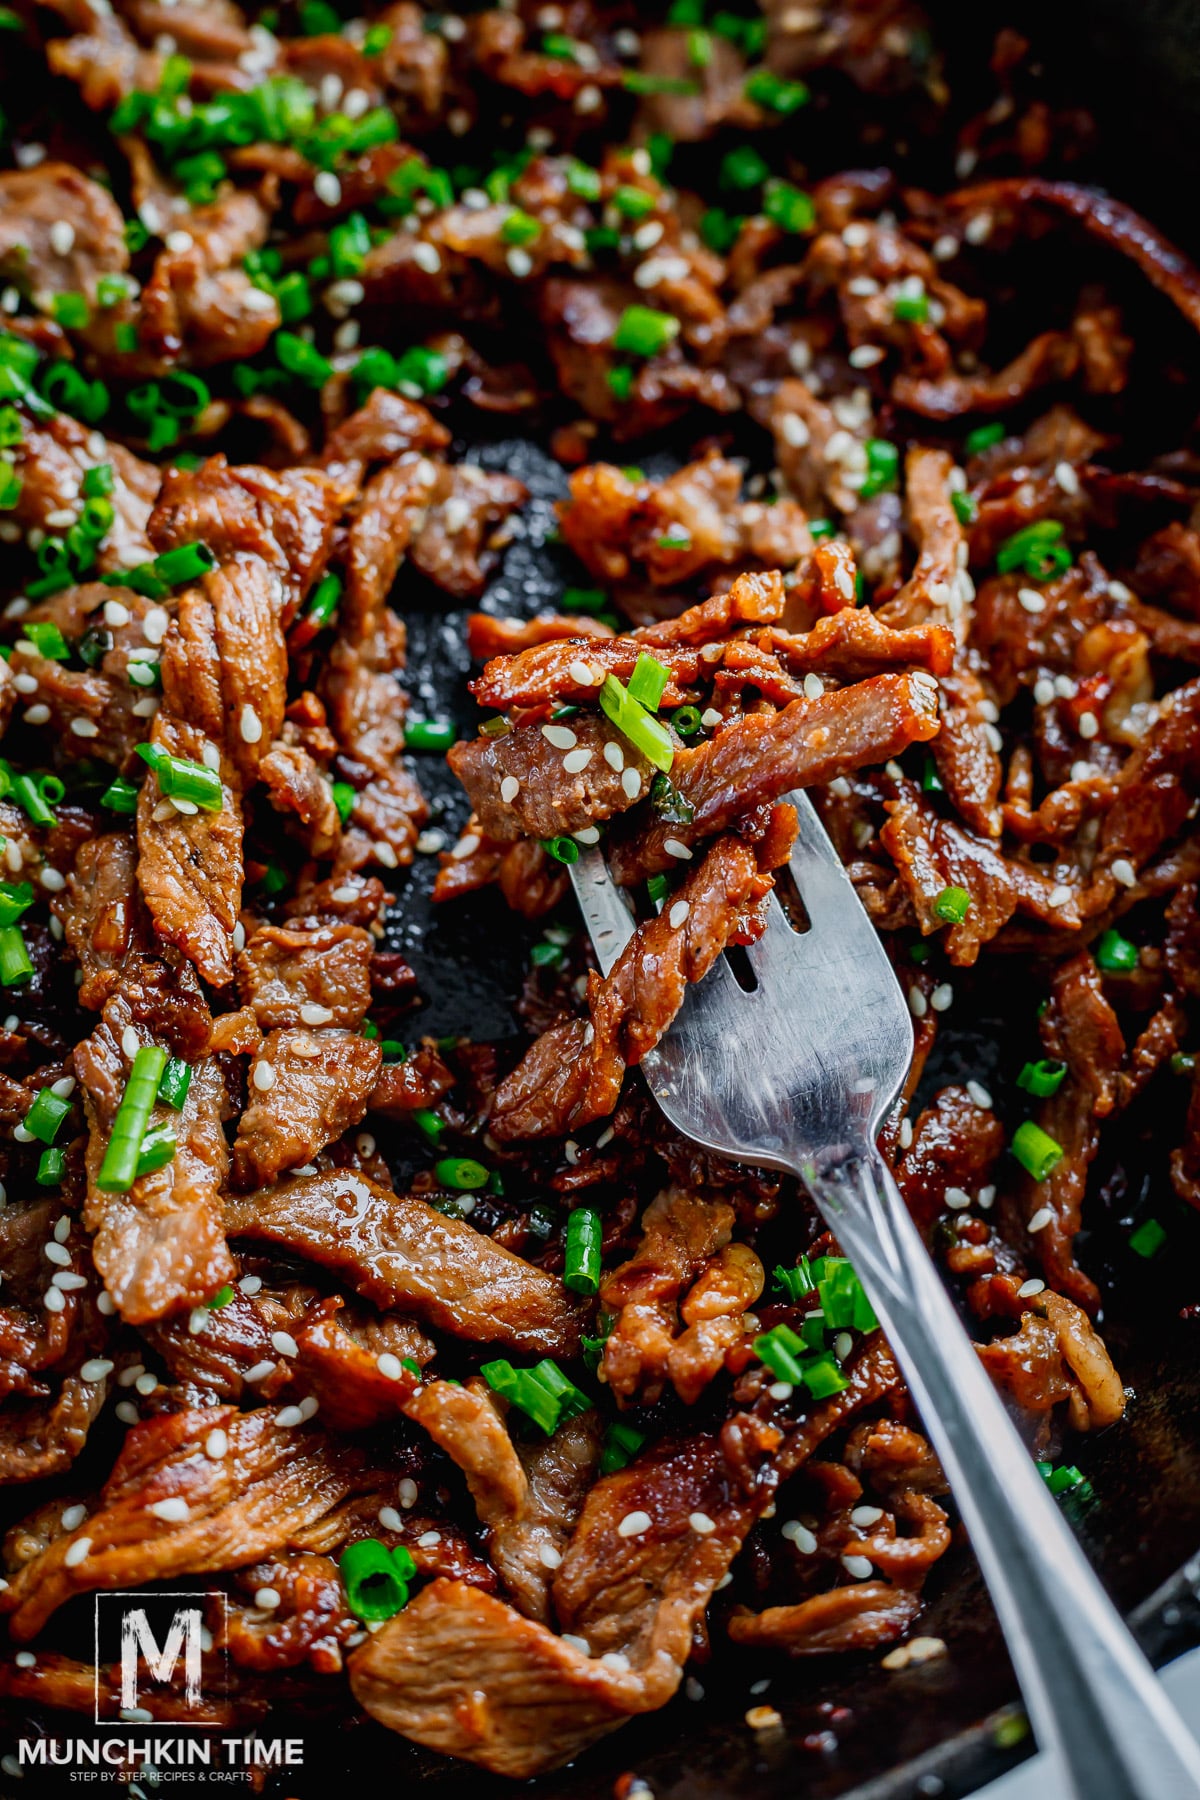
- Step 2: Heat 2 tbsp olive oil in a large skillet over medium-high heat. Add 1 lb beef sirloin, cut into 1/4-inch strips, and cook for 3-4 minutes, stirring occasionally until edges are golden brown and nearly cooked through. Add 1 cup kimchi, stir to combine, and cook for 2-3 minutes until kimchi softens and releases its juices. Tip: Don’t stir the beef too early — searing creates better flavor.
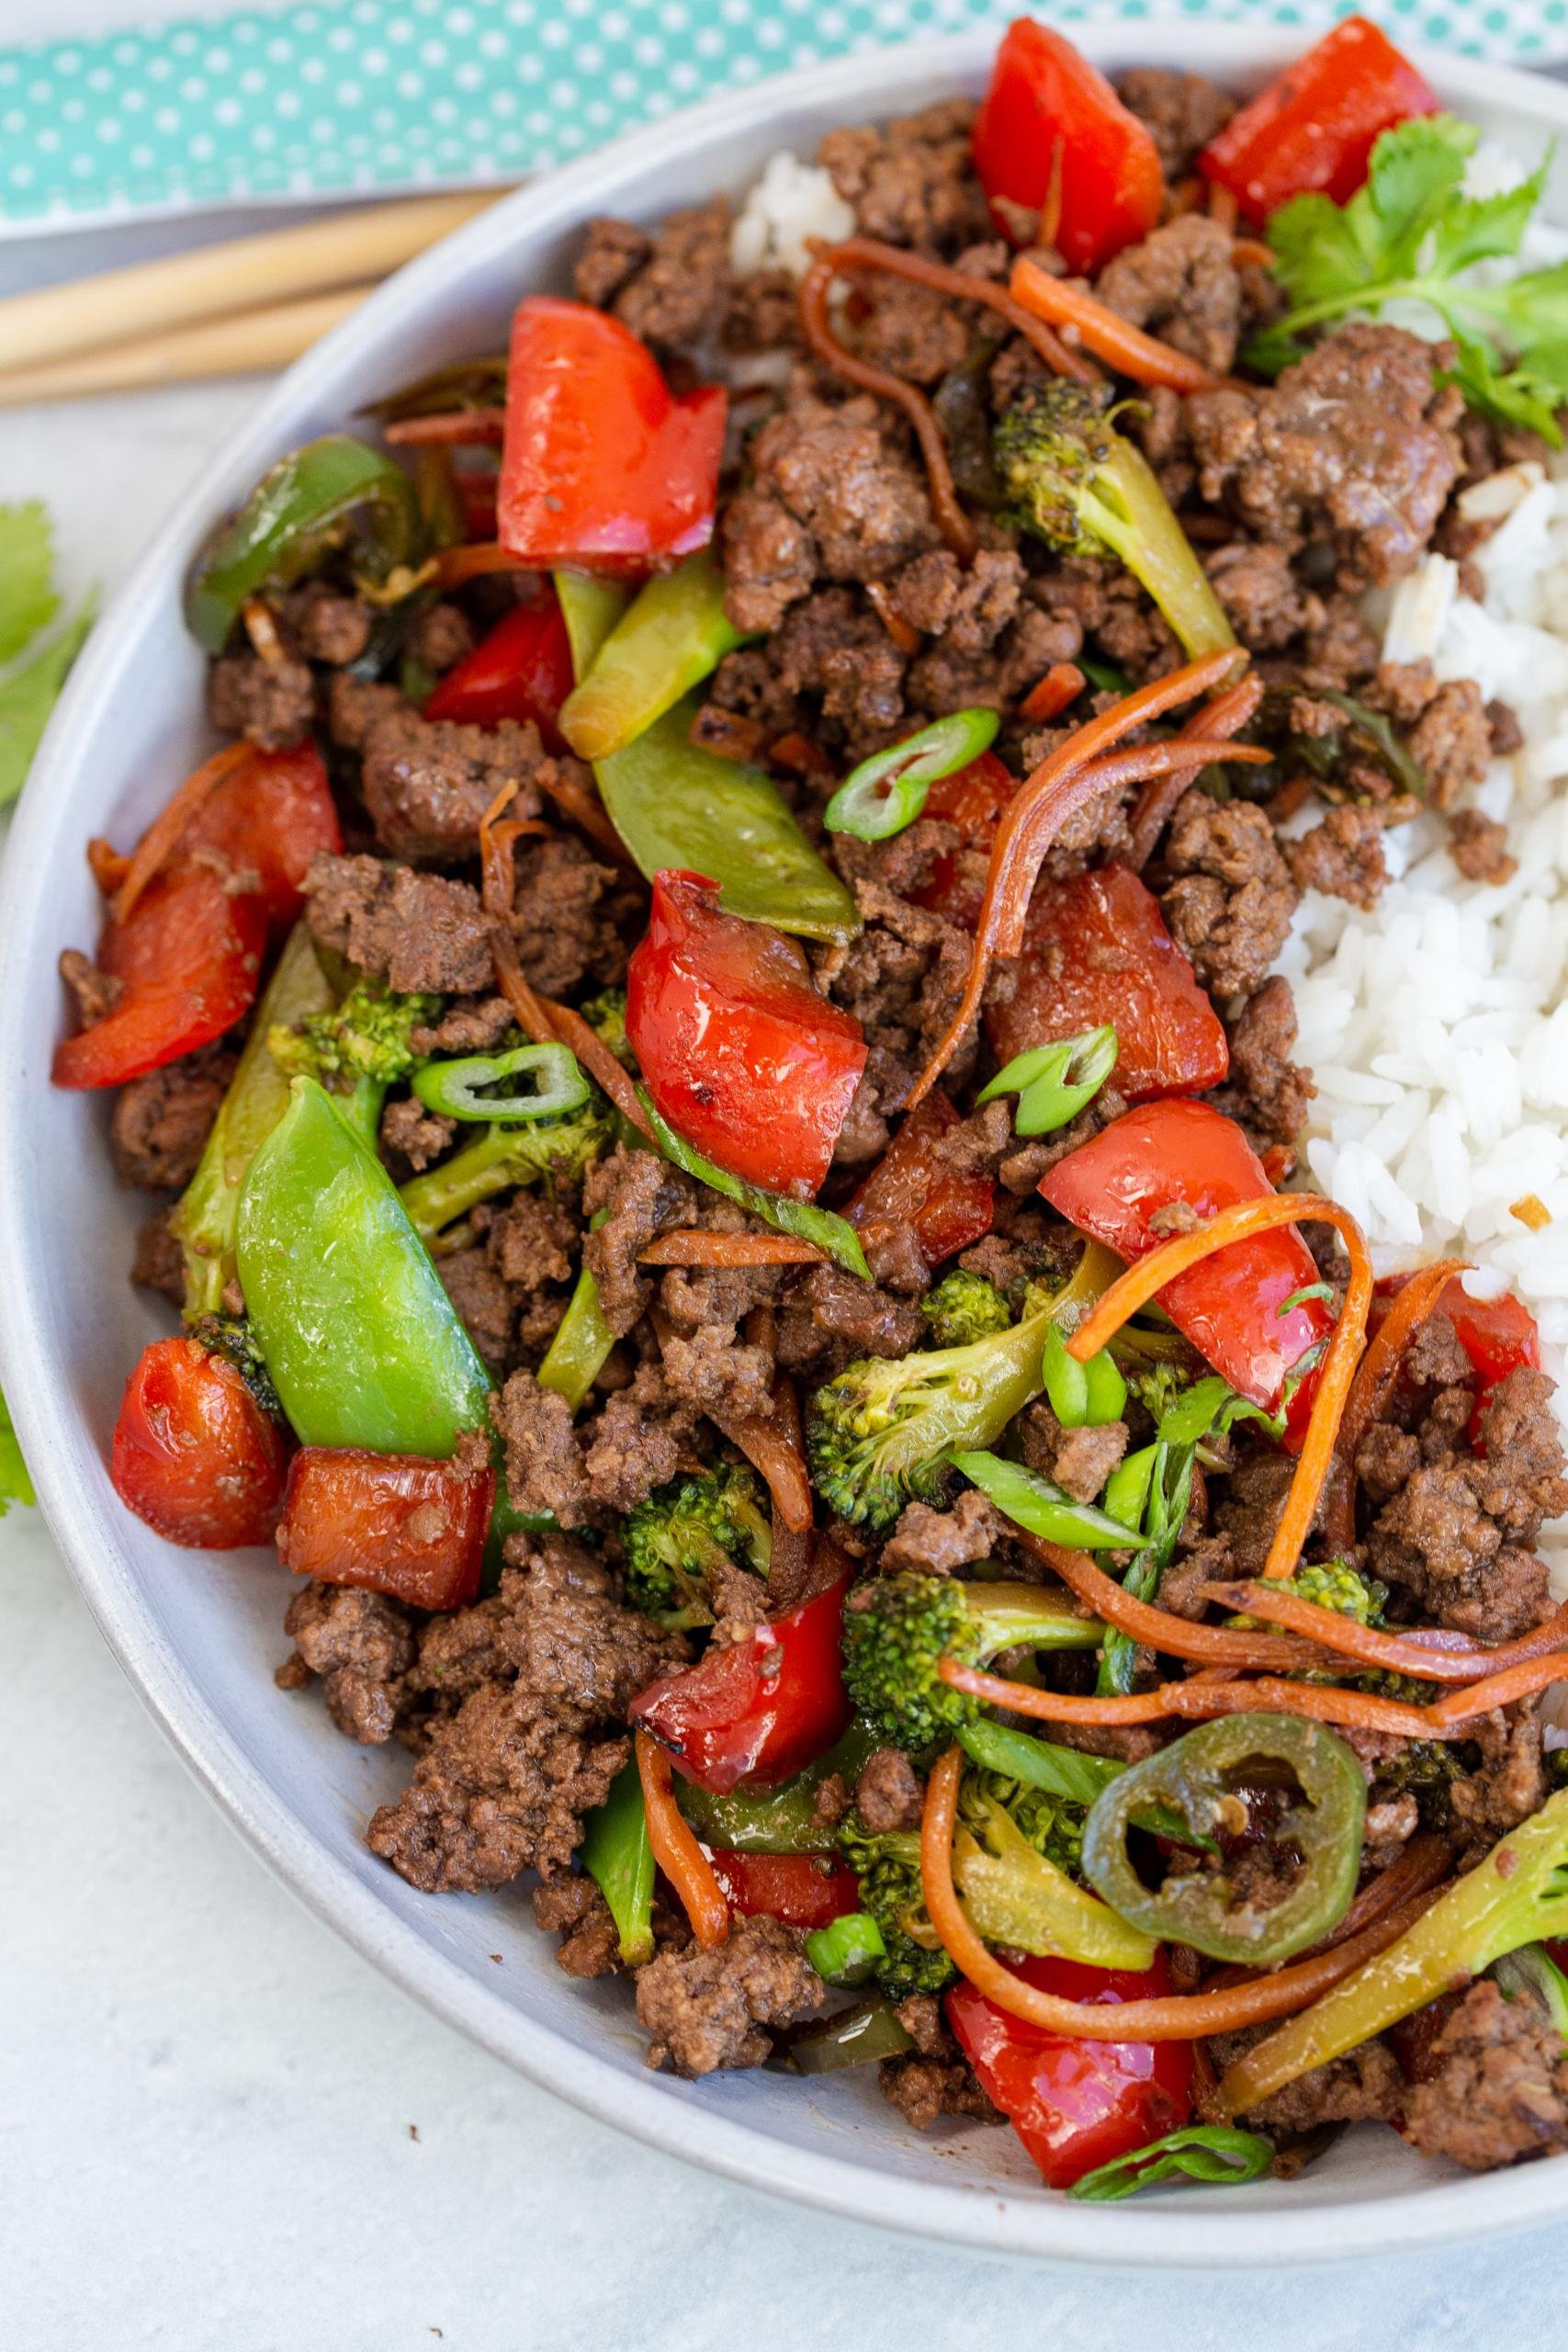
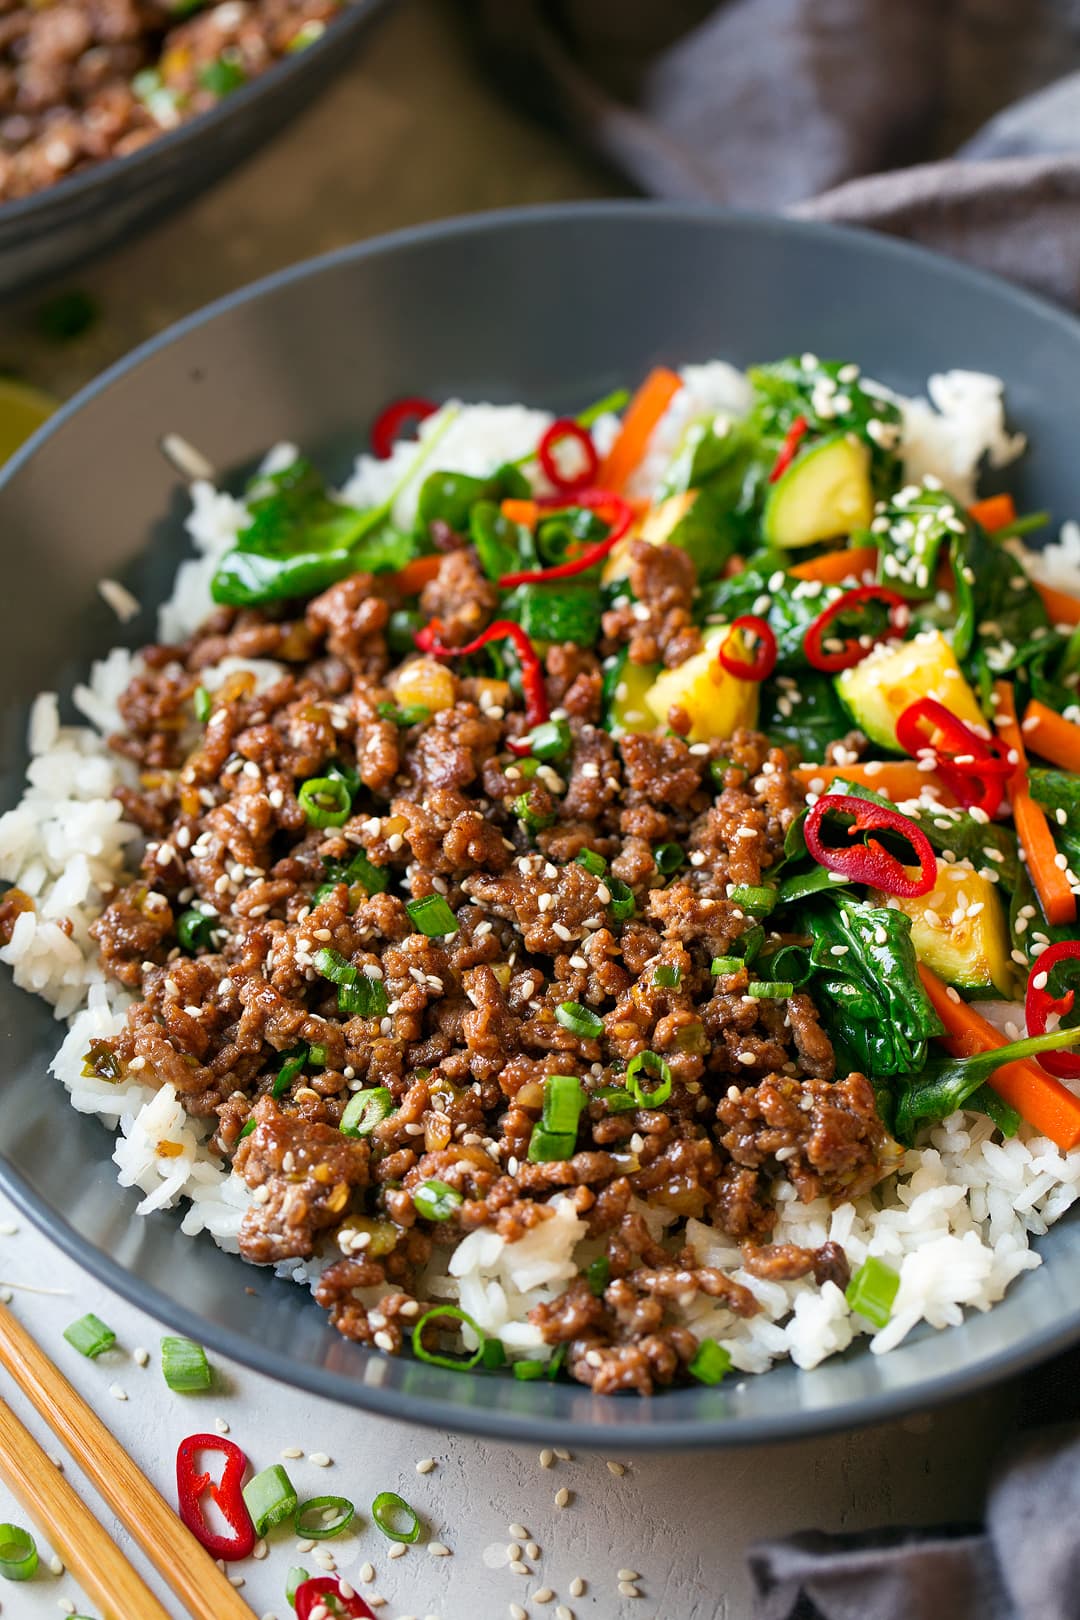
- Step 3: In a heatproof serving bowl, layer 2 cups cooked rice as the base. Top with 1 cup carrots, diced into 1/2-inch cubes, and 1 cup spinach, roughly chopped. Gently press down to compact the layers, then evenly spread the beef-kimchi mixture over the vegetables. Tip: Use a shallow bowl for easier layering and serving.
- Step 4: Crack 2 eggs into the bowl, spacing them evenly over the rice. Cover the bowl with a lid or aluminum foil and transfer to a preheated oven at 350°F (175°C) for 8-10 minutes until egg whites are set and yolks remain runny. Alternatively, fry the eggs separately in a non-stick pan over medium heat for 3-4 minutes until edges are golden and yolks are just runny. Tip: For a richer flavor, add 1/4 cup grated cheese on top just before serving.
Equipment for this recipe
Top-rated tools to make this recipe successfully.


Frequently asked questions
How long does Korean Kimchi Beef Bibimbap take to make?
Total time is about 45 minutes (25 min prep + 20 min cook). Most home cooks find this fits comfortably into a weeknight; double the batch on Sunday for two dinners.
How do I store leftover Korean Kimchi Beef Bibimbap?
Cool to room temperature within 2 hours, then store in an airtight container in the fridge for up to 4 days. Reheat covered in a 350°F oven for 10-12 minutes, or microwave at 70% power in 60-second bursts to keep beef sirloin from drying out.
Can I substitute ingredients in Korean Kimchi Beef Bibimbap?
Yes — most ingredients in this recipe have flexible swaps. For oil, use any neutral high-smoke-point oil (avocado, grapeseed, refined coconut). For aromatics, dried herbs at ⅓ the volume of fresh work in a pinch. The full ingredient list is shoppable on Instacart so you can see substitutes in real time.
How do I scale Korean Kimchi Beef Bibimbap for a different number of people?
The recipe is written for 4 servings. Multiply each ingredient by (your serving target / 4). Cook time stays roughly the same up to 2x; for 3-4x batches, switch from a skillet to a sheet pan or stockpot so the food isn't crowded — overcrowding steams instead of browns.
Is Korean Kimchi Beef Bibimbap vegetarian-friendly?
Yes — this recipe is tagged vegetarian-friendly based on its ingredient list. Always cross-check labels for packaged ingredients (sauces, broths, condiments) since formulations vary by brand.
What others are saying
- ★★★★★
Perfect for a quick yet gourmet meal. Used gochujang for extra heat.
- ★★★★★
Tangy, spicy, and so satisfying. The kimchi was the star of the dish!
- ★★★★★
Loved the balance of flavors. Made it with extra egg and spinach for a veggie boost.