Taiyaki-Inspired Red Bean Pancake Cones
Japanese-style pancake cones filled with sweet red bean paste, perfect for an enjoyable handheld dessert with a crisp exterior and soft, sweet filling. This Japanese-inspired recipe, ready in about 25 minutes, layers all-purpose flour, granulated sugar, baking powder into a dessert worth slowing down for — great for weekend baking, holiday tables, or any time you want a sweet payoff at the end of a meal. Each serving lands at about 220 calories and feeds 4, so it slots into a weekend bake or a special-occasion dessert tray. Tap "Plan a meal with the AI" below to drop this recipe into your week and send the ingredients straight to Instacart. Nutrition values are approximate, calculated from USDA FoodData Central (fdc.nal.usda.gov) — verify against ingredient labels for any health-driven dietary plan.
Ingredients
- 1 cup all-purpose flour
- 2 tbsp granulated sugar
- 1 tsp baking powder
- 3/4 cup milk
- 1 large egg
- 2 tbsp, plus extra for pan vegetable oil
- 1/2 cup sweetened red bean paste
The griddle we’d cook this on → Best Griddles for 2026: Stovetop and Electric Picks + Buying Guide
Affiliate disclosure: AislePrompt may earn a commission on qualifying purchases made through Amazon links, at no additional cost to you. See our policy →
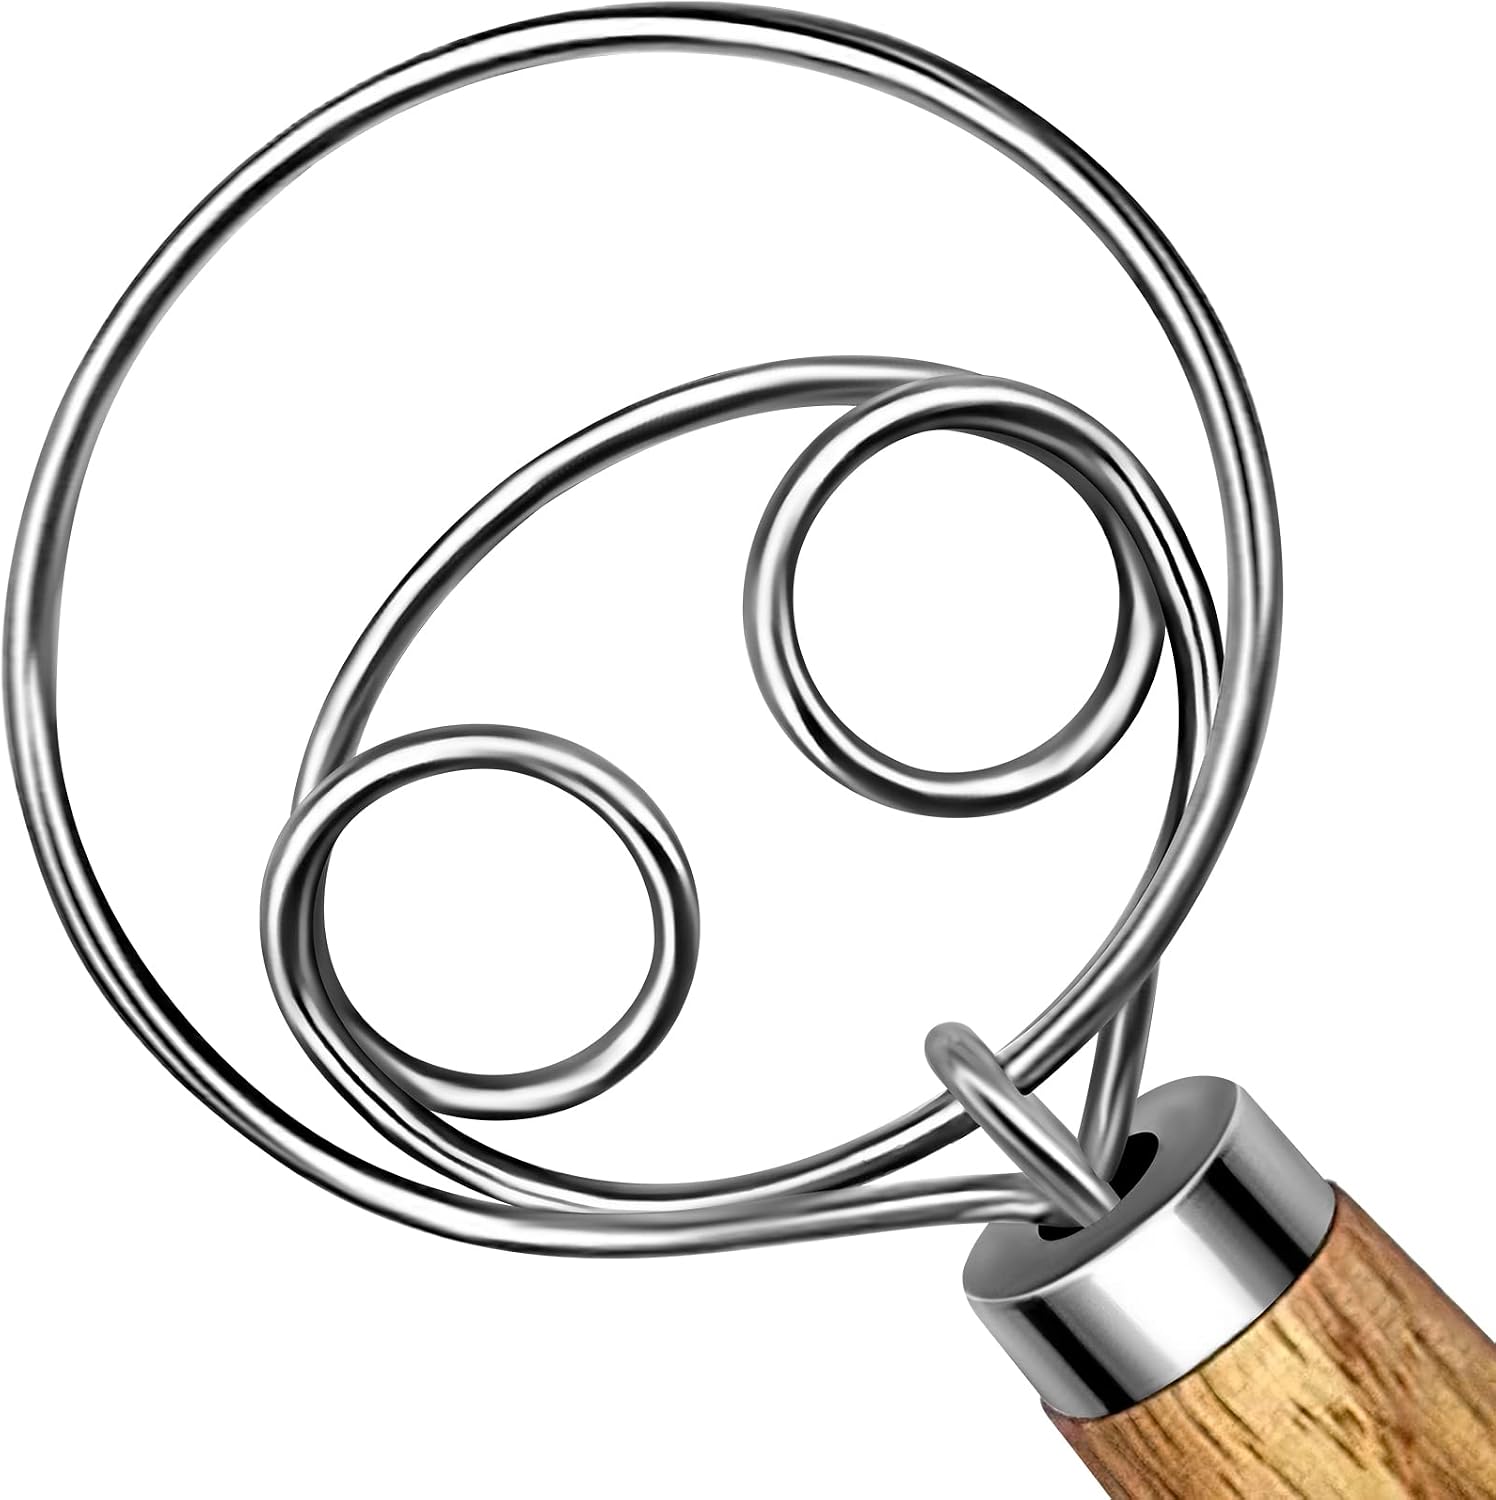
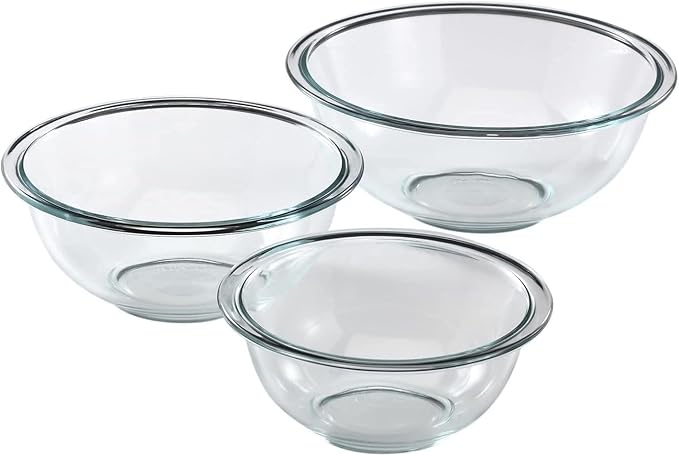
Equipment for this recipe
Tools this recipe's steps call for, with a link to each on Amazon.

Instructions
- Step 1: In a mixing bowl, whisk together 1 cup all-purpose flour, 2 tbsp granulated sugar, and 1 tsp baking powder until combined.
- Step 2: In another bowl, beat 1 large egg with 3/4 cup milk and 2 tbsp vegetable oil until smooth.
- Step 3: Gradually pour the wet mixture into the dry ingredients, stirring gently until a smooth batter forms without lumps.
- Step 4: Heat a non-stick skillet over medium heat and lightly brush with vegetable oil.
- Step 5: Pour about 1/4 cup batter into the skillet and cook for 2 minutes until bubbles appear on the surface and edges start to set.
- Step 6: Spoon 2 tbsp sweetened red bean paste onto one side of the pancake, then carefully fold or roll the pancake into a cone shape while still warm.
- Step 7: Continue cooking the folded cone for an additional 1 minute to seal and crisp the edges.
- Step 8: Repeat with remaining batter and filling, serving warm for a soft and sweet treat.