Best Vacuum Sealers for 2026: Top Picks for Meal Prep and Sous Vide + Buying Guide
Five external sealers compared on specs, plus the bag math that runs backwards from what everyone tells you.
Where to buy these picks
Affiliate links: we may earn a commission on qualifying Amazon purchases. Policy. Prices show only when checked in the last 24 hours.
- Best overall: FoodSaver with automatic bag detectionCheck price on Amazon →
- Best value: MEGAWISE Vacuum Sealer with starter kitCheck price on Amazon →
- Best for beginners: Bonsenkitchen Vacuum SealerCheck price on Amazon →
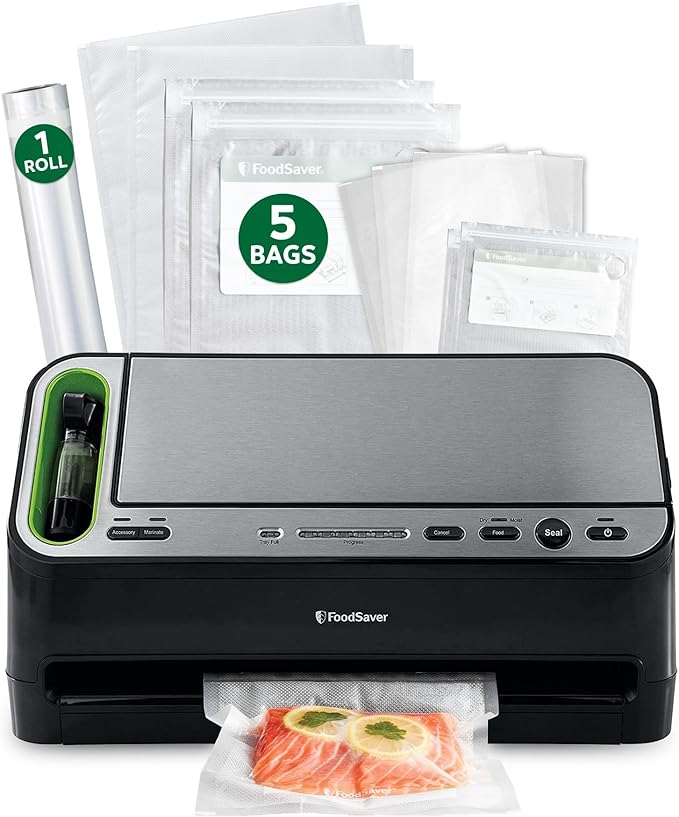
- Best premium: FoodSaver V4400 2-in-1Check price on Amazon →
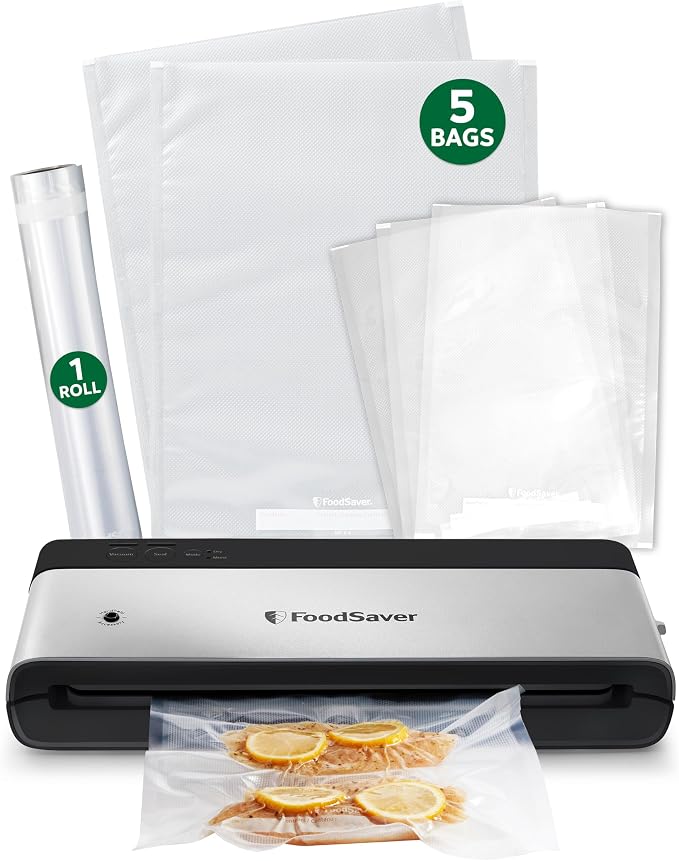
- Best compact: FoodSaver PowerVac Compact VS0150Check price on Amazon →
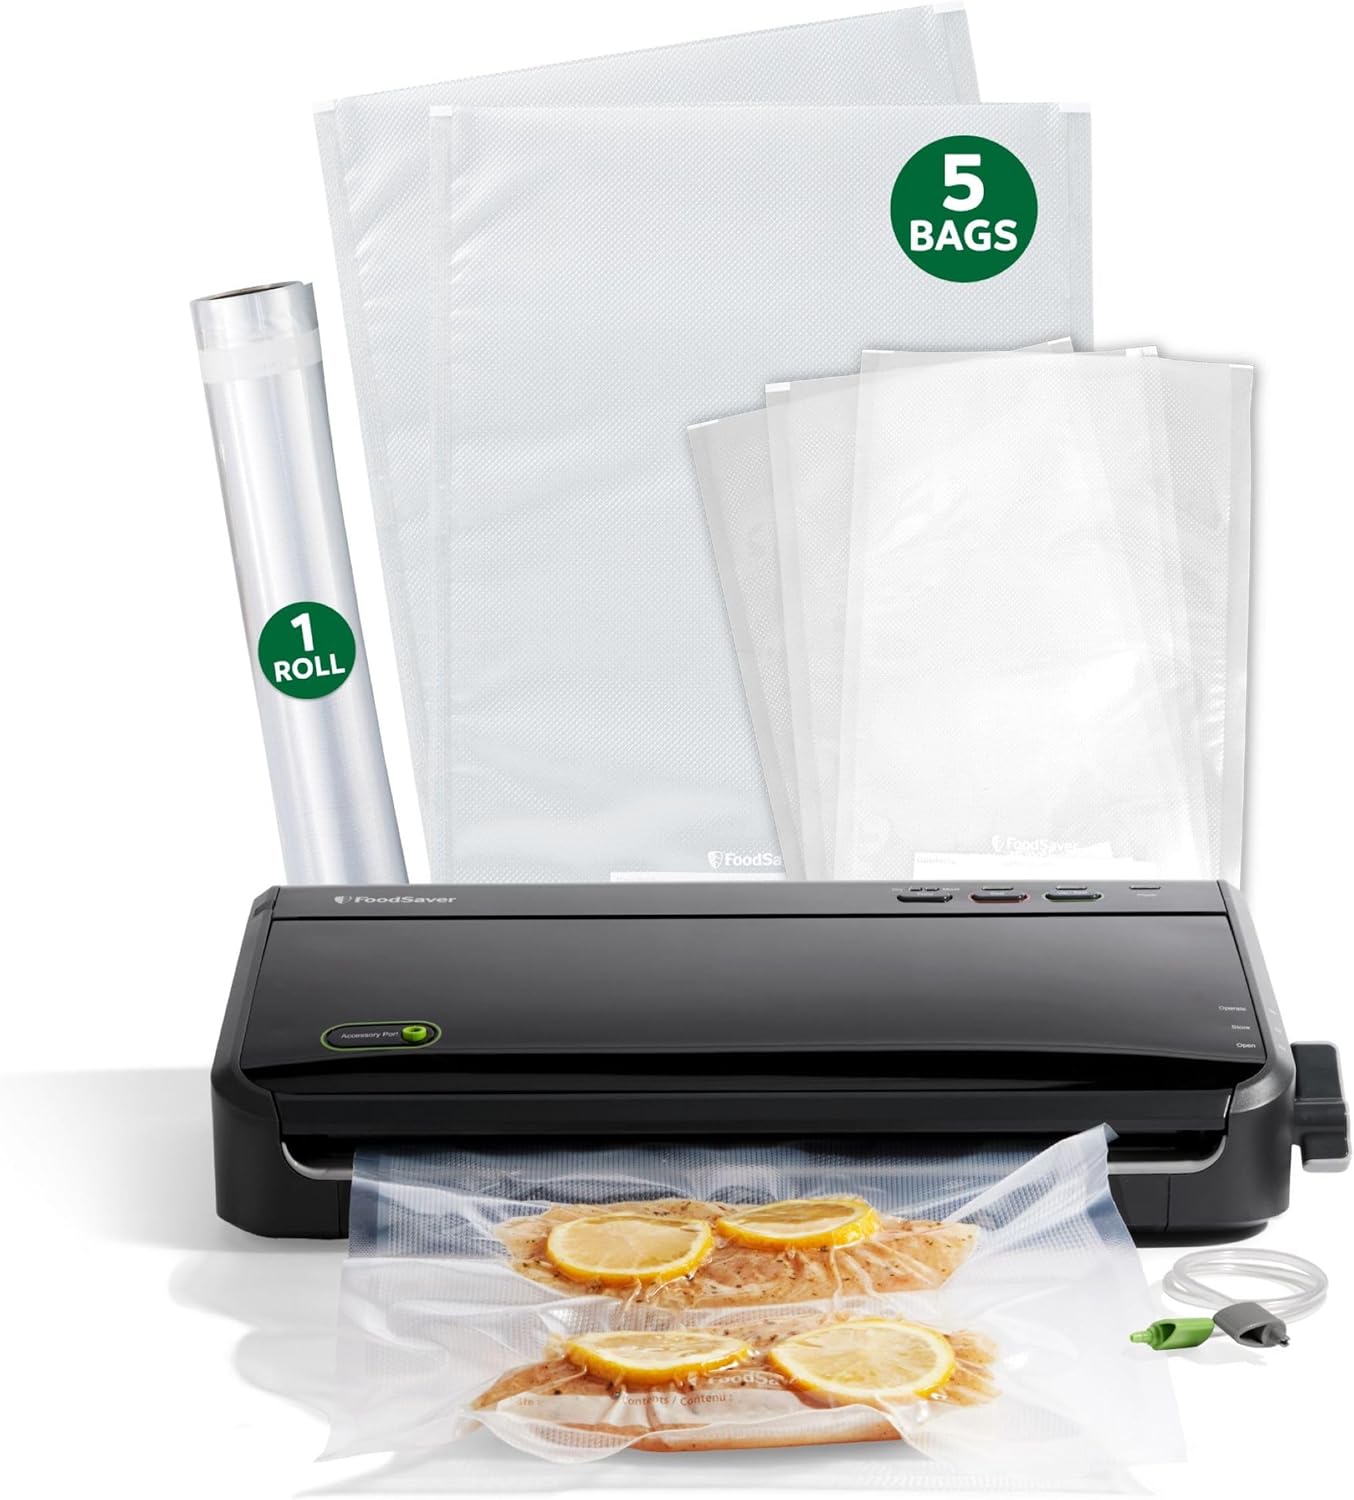
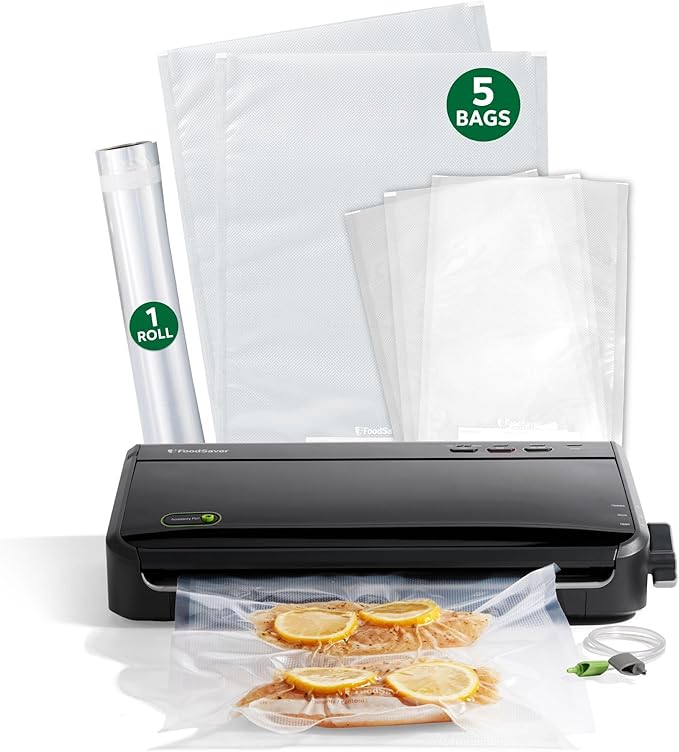
For most home cooks in 2026 the best vacuum sealer is the FoodSaver Vacuum Sealer Machine with automatic bag detection at about $140. It seals wet food without flooding the drip tray, it handles sous vide bags rated to 195°F, and its bag-detection sensor removes the single biggest source of failed seals: guessing the mode.
Get a free week of easy dinners
Seven weeknight dinners with the shopping list already totalled, sent Sunday. No account needed, unsubscribe in one click.
No spam, unsubscribe in one click. Recipes, shopping lists and Instacart carts all work without an account either way.
If $140 is more than you want to spend on a machine that lives in a cabinet, the $34 MEGAWISE does 80% of the same work. And if you sous vide more than twice a week, skip both and read the chamber-sealer section before you buy anything.
Our top 5 picks
Best overall — FoodSaver with automatic bag detection
Buy the FoodSaver with bag detection
This is the one we'd hand to someone who wants to seal 20 bags on a Sunday and never think about the machine again. The bag-detection sensor reads the bag when you insert it and picks the vacuum profile for you, which matters because guessing the mode is the usual reason a wet seal fails.
It also ships with a handheld attachment for zipper-top vacuum bags and jar lids, so it covers the "half an onion and a wedge of parmesan" use case that a bag-only machine can't touch.
Buy it if: you freeze portions weekly and sous vide occasionally. Skip it if: you seal fewer than 10 bags a month — the MEGAWISE is a quarter of the price.
Best value — MEGAWISE Vacuum Sealer with starter kit
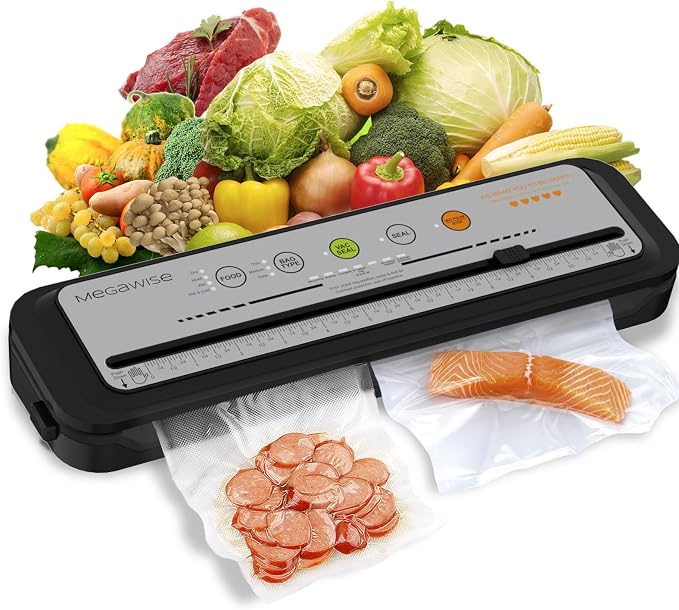
At $34 with 10 bags and a built-in roll cutter, this is the cheapest machine in the shop we'd actually recommend. It has both dry and moist modes — the single feature that separates a usable sealer from a $20 paperweight.
The compromises are real: it's slower, the pump is loud, and it wants a 40-second rest between bags or it thermal-throttles. Seal a dozen bags in a row and you'll feel it. Expect more liquid in the tray from its moist mode than from the FoodSaver's, so wipe it between wet bags.
Buy it if: you want to find out whether you'll actually use a vacuum sealer before committing $140. Skip it if: you batch 20+ bags in one session.
Best for beginners — Bonsenkitchen Vacuum Sealer
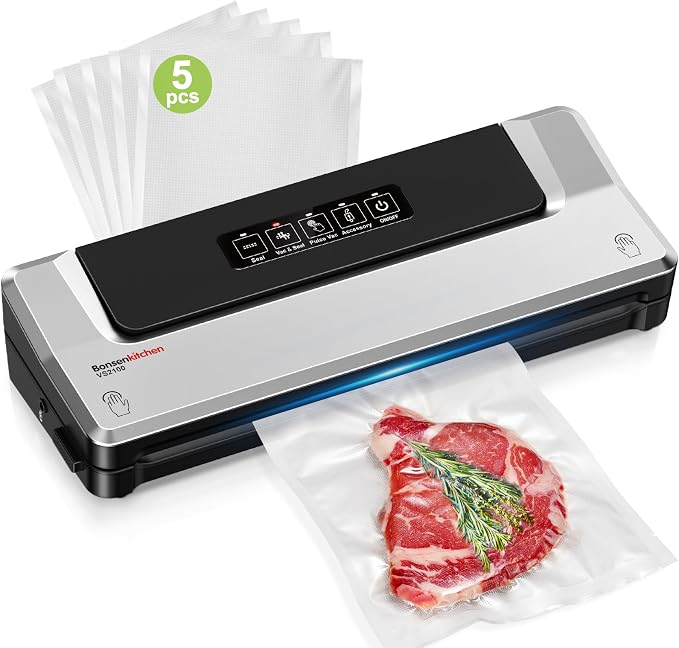
This one earns its slot on the control panel, not the pump. Every mode is a labeled button — dry, moist, vacuum-only, seal-only — with no combination presses and no manual to relearn in November after you last used it in March. The seal-only button matters more than beginners expect: it's how you close a bag of chips or finish a bag whose seal wrinkled, and machines that bury it behind a two-button chord get used wrong.
On paper it sits between the MEGAWISE and the mid-range FoodSavers. Like every external sealer, its moist mode suits a lightly marinated chicken thigh, not half a cup of brine.
Best premium — FoodSaver V4400 2-in-1
The V4400 is the premium pick, and the reason is throughput.
At $235 it only makes sense if you're sealing weekly at volume: a deer season's worth of venison, a CSA share, a chest freezer you actually rotate. If you seal a dozen bags a month, the $140 FoodSaver does the same job more slowly and you keep $95.
Best compact — FoodSaver PowerVac Compact VS0150
Vertical storage sounds like marketing until you try to find cabinet space for a 16-inch horizontal slab. The PowerVac is roughly the footprint of a tall kettle, so it can live on the counter, which is the actual predictor of whether a sealer gets used.
It handles dry and wet food. The trade-off is a narrower seal bar — you get less margin for a crooked bag insertion, so line the bag up squarely and don't try to seal a 12-inch bag mouth in a 10-inch channel.
Honorable mentions
| Machine | Price | Why it's close |
|---|---|---|
| Mesliese 90 kPa 6-in-1 | Check price | 90 kPa and a 12 mm seal strip — the widest seal under $100 |
| Potane Precision 8-in-1 | Check price | A "delicate" preset that doesn't crush bread or berries |
| Anova Culinary Vacuum Sealer | Check price | Slimmest body in the group, 2-year warranty, built for circulator owners |
| FoodSaver jar sealer attachment | Check price | Turns any hose-equipped FoodSaver into a mason-jar sealer |
Where to buy the picks in this guide
Prices are shown only when checked in the last 24 hours; otherwise check the current price on Amazon.
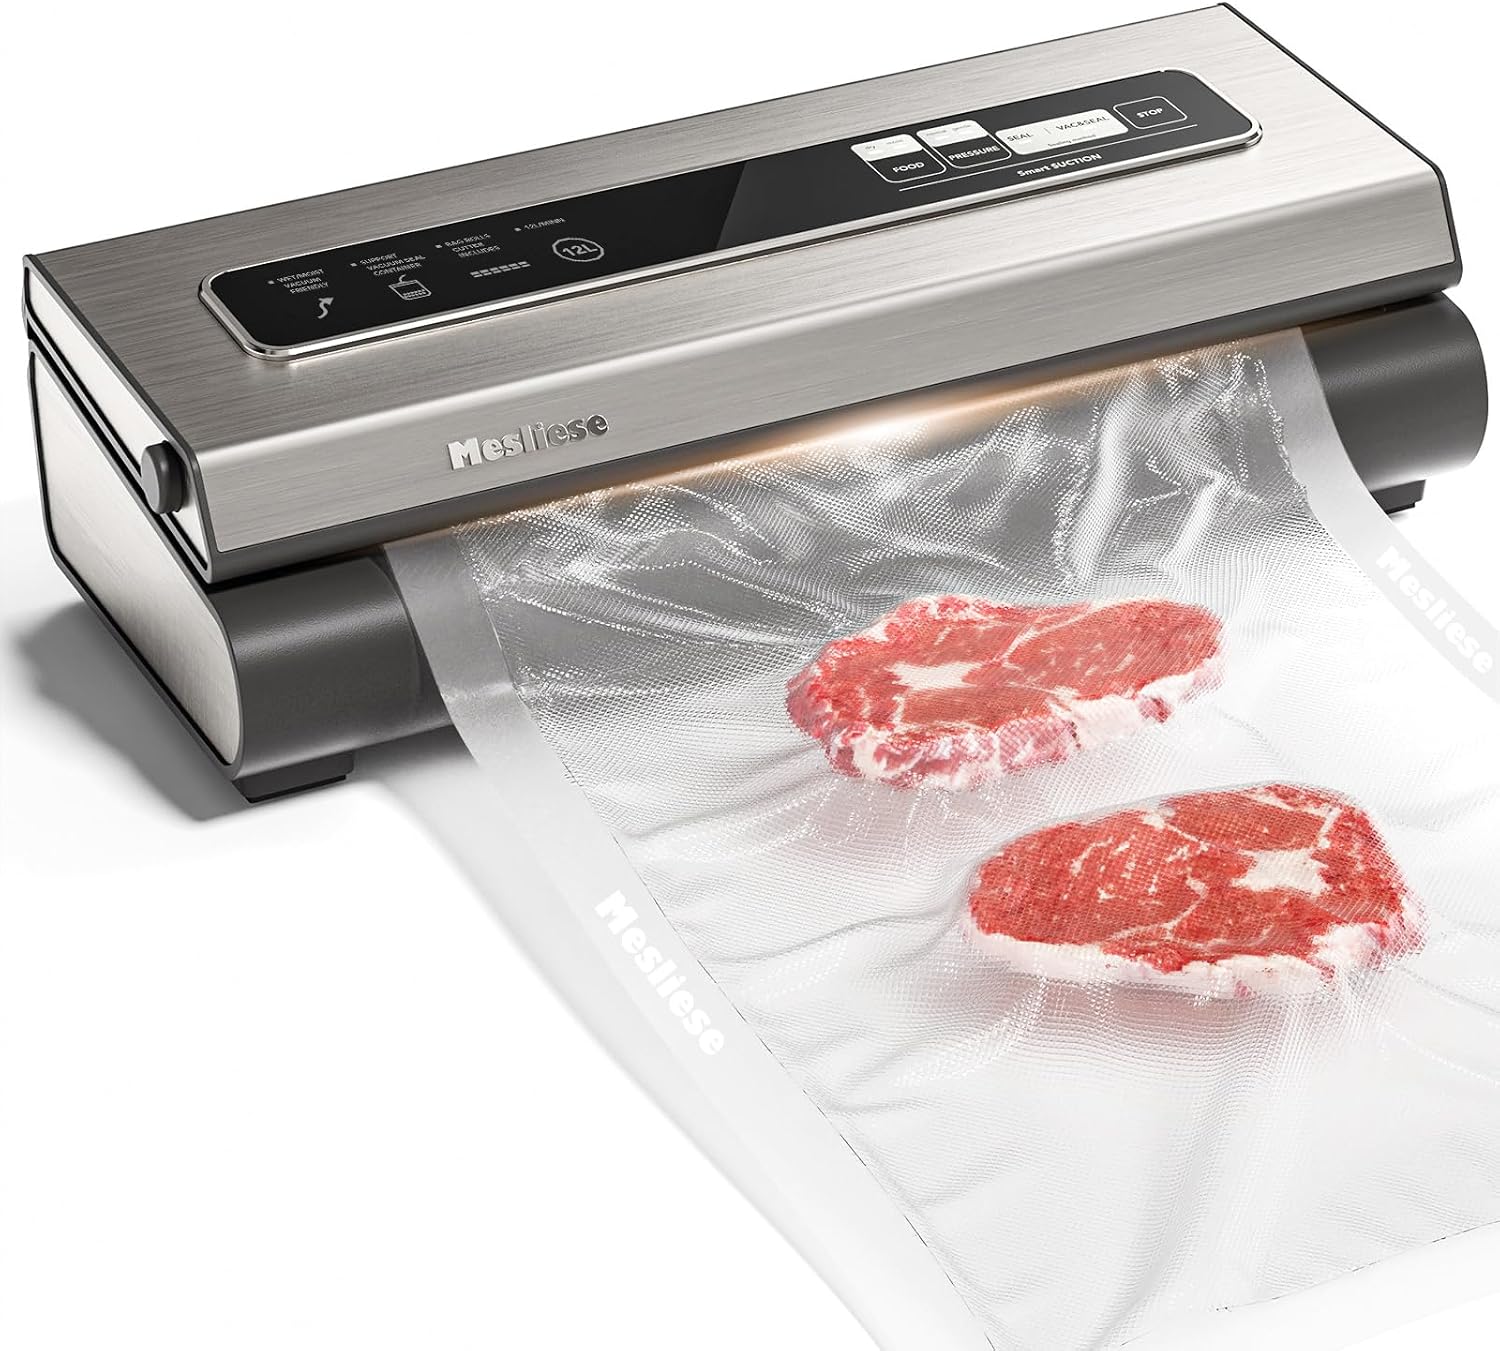
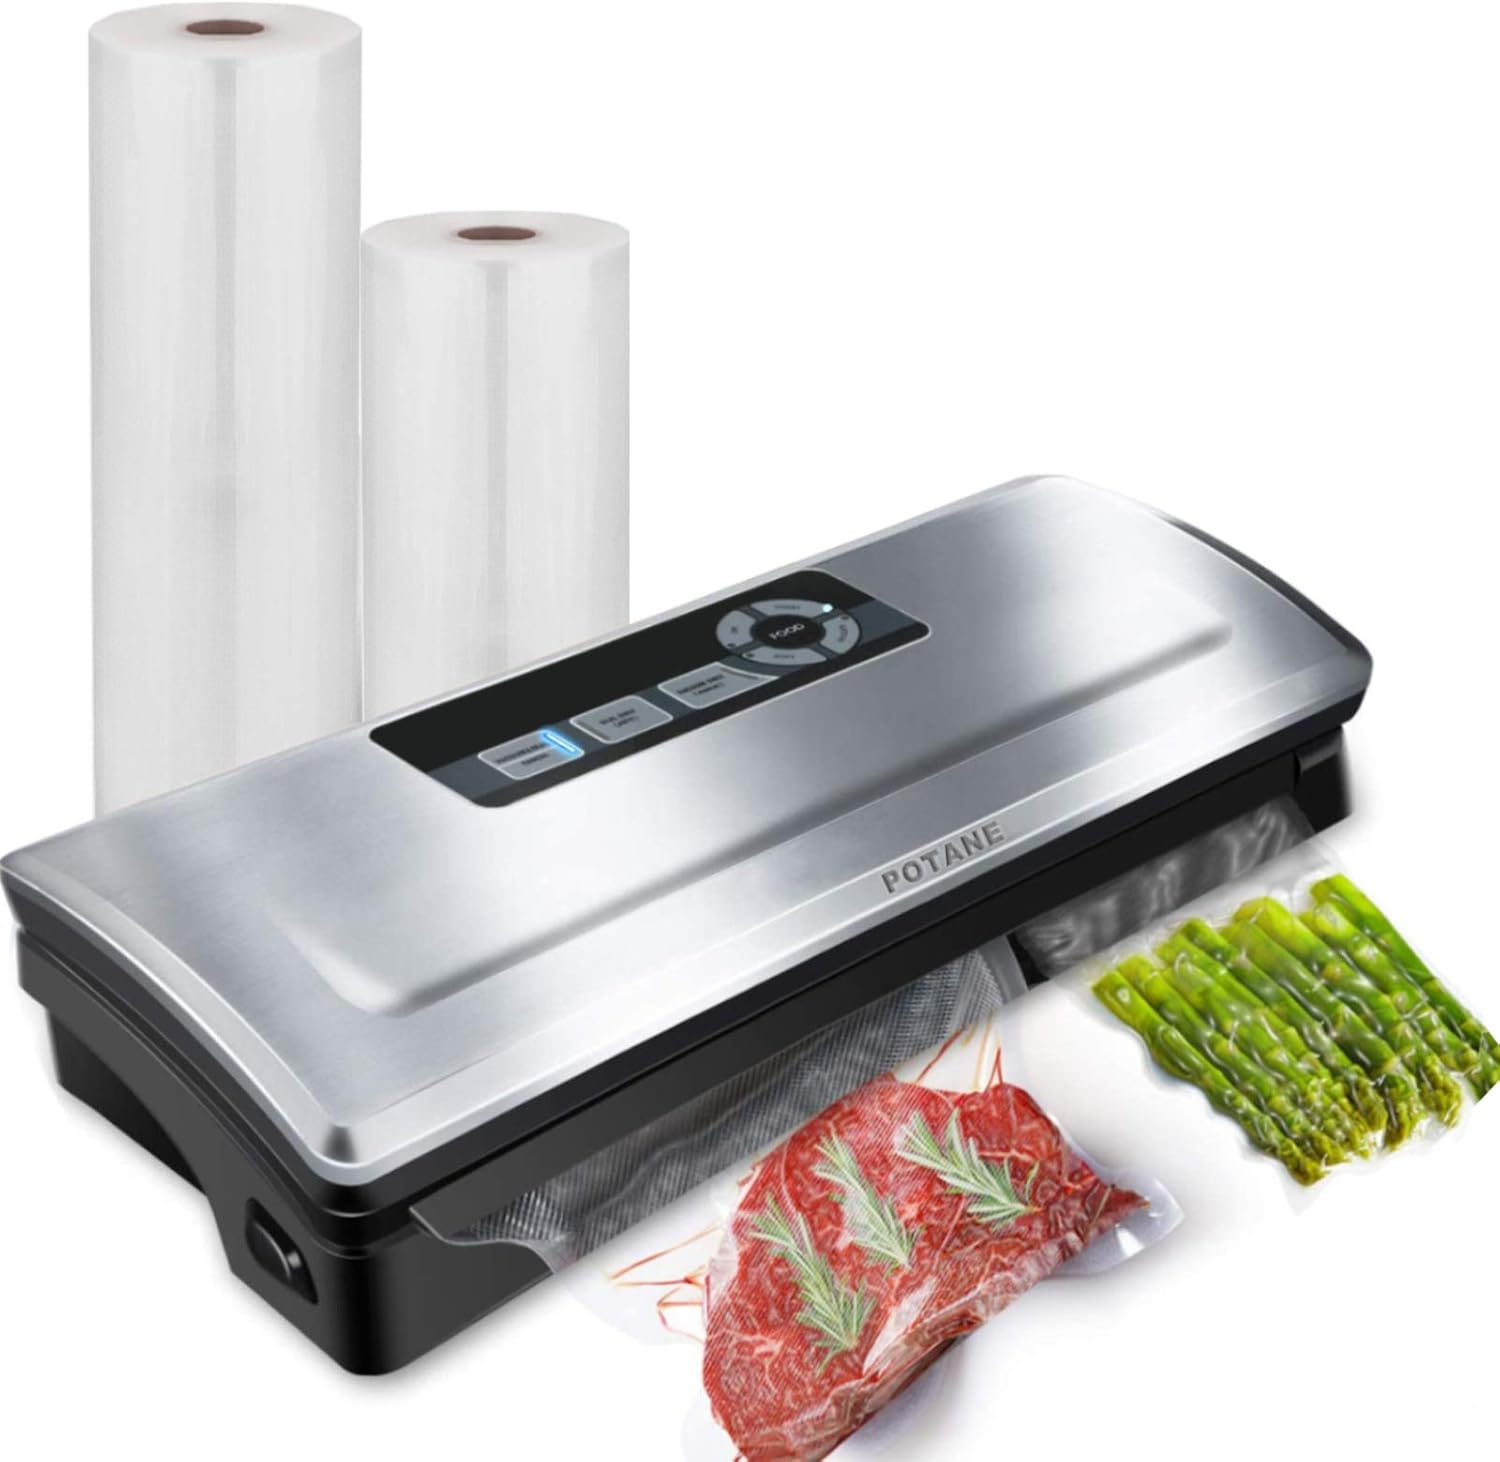
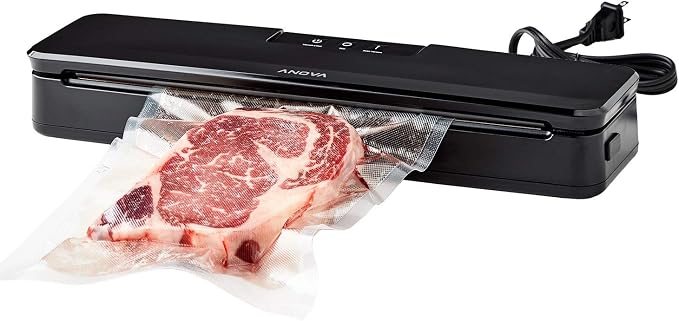
The Mesliese and Potane are genuinely good machines that lost on one axis each: the Mesliese has no handheld accessory port, and the Potane's roll-storage drawer eats counter depth. Either is a fine buy at $70.
What to look for
External vs chamber
An external sealer pulls air out of a bag that sits outside the machine, with the open end clamped in the seal channel. Every machine on this page is external. They cost $34–235, they're the right answer for dry solids and freezer portions, and they physically cannot vacuum a bag of liquid because the liquid gets pulled toward the pump.
A chamber sealer puts the whole bag inside a sealed box, evacuates the box, and seals the bag at equal pressure inside and out. That's why chamber machines can seal soup, brine, and marinade. They cost $600–2,000, they weigh 40–60 lb, and they use cheap flat pouches instead of textured channel bags — which cuts your per-bag cost roughly in half. As of 2026 the crossover point is about three sealed liquids per week. Below that, an external sealer plus a frozen-marinade trick (see below) is the better spend.
Seal width
The seal bar's width is the spec that nobody advertises and everybody should. Budget machines run a 2–3 mm bar; mid-range machines run 3–5 mm; the Mesliese's 12 mm strip is an outlier. A wider seal gives you more thermally-bonded material, which matters most for freezer bags that get shuffled against sharp-edged frozen packages for a year. If a machine won't tell you its seal width, assume 3 mm.
Double-seal
A double-seal function lays two parallel seams about 4 mm apart. It doubles your insurance on long-term freezer storage and it's the feature we'd pay for over a higher kPa number. Some machines implement it as a button; on any machine you can fake it by running the seal-only cycle twice, moving the bag a few millimeters between passes.
Moist mode
Moist (or "wet") mode shortens the vacuum phase and lengthens the heat phase, trading some air removal for a seal that bonds through a slightly damp bag mouth. Any sealer you buy for meat needs it. Watch for machines that have a moist button but no drip tray you can remove and rinse — that tray is where a week of chicken juice lives.
Vacuum sealing for meal prep vs sous vide
These are two different jobs and they want different habits.
For meal prep, you are fighting oxygen. Freezer burn is sublimation driven by air contact, not by cold — which is why vacuum-sealed meat holds 2–3 years against 6–9 months in a zipper bag, per USDA FSIS guidance on freezing and food safety. Portion to the meal, not to the package: a 3 lb pack of thighs becomes three 1 lb bags, because a bag you have to thaw entirely is a bag you'll cook badly. Sear-and-freeze proteins like honey-glazed chicken thighs with garlic and thyme or a batch of Texas-style beef chili with kidney beans freeze flat and stack like files.
Cooked, saucy food is the one case where you should freeze first and seal second. Ladle chili into a bag, freeze it flat on a sheet pan for four hours, then vacuum-seal the frozen slab. The pump sees a solid, not a liquid, so you get a full vacuum with no liquid in the tray. The same trick works on a marinated balsamic-marinated flank steak with roasted garlic chimichurri — freeze the marinade into a puck alongside the steak, seal both, and the marinade thaws into the bag while the meat thaws.
For sous vide, you are fighting buoyancy and heat transfer. A bag with trapped air floats, and a floating bag has a section of protein above the water line cooking at a different rate. Any external sealer works if the bags are BPA-free and rated to at least 195°F. A sous vide salmon with dill and lemon butter at 122°F is unforgiving about float — the top half goes chalky. Sous vide garlic-parsley chicken thighs at 165°F for four hours and a sous vide pork tenderloin with apple cider glaze are more forgiving but still want a full vacuum.
There's a third benefit people discover by accident: vacuum pressure accelerates marinade penetration by collapsing the meat's surface cell structure against the liquid. A 30-minute vacuum marinade reaches about the same depth as an hour in a bowl. It does not, despite the internet, tenderize — that's enzymes and time. See our best sous vide machines 2026 guide for the circulator side of the setup, and Wikipedia's sous vide overview for the history of the technique.
A worked example. Sunday, one sealer, 90 minutes: six bags of grilled chicken meal prep bowl with quinoa and roasted vegetables components sealed raw for the week's circulator runs, four bags of savory breakfast burritos with scrambled eggs and cheddar sealed cooked and frozen flat, and one sous vide tomahawk steak with rosemary garlic crust sealed for Friday. Eleven bags, about $1.40 of bag stock, three weeknight dinners and a weekend one.
Bag cost math: rolls vs pre-cut vs reusable
Conventional wisdom says rolls are cheaper than pre-cut bags. In this catalog, as of September 2026, that's backwards — and the difference is big enough to change what you buy.
| Bag stock | Price | Usable bags | Cost per bag |
|---|---|---|---|
| KitVacPak 200 pint 6×10 | Check price | 200 | $0.10 |
| KitVacPak 200 quart 8×12 | Check price | 200 | $0.125 |
| Wevac 100 quart 8×12 | Check price | 100 | $0.18 |
| O2frepak 100 ft of roll | Check price | ~92 quart-size | $0.21 |
| KitVacPak 200 gallon 11×16 | Check price | 200 | $0.23 |
| OutOfAir 100 ft of roll | Check price | ~92 quart-size | $0.25 |
Two things drive the reversal. First, a roll costs you an extra seal per bag — you seal the bottom, fill, then seal the top — plus about an inch of trim waste per bag, so 100 feet of 8-inch roll yields roughly 92 quart-equivalent bags, not 100. Second, bulk pre-cut has scaled: 200-count boxes landed at a price per bag that 25-foot rolls can't match.
So buy rolls for what rolls are actually good at: odd lengths. A rack of ribs, a whole salmon side, a baguette, three pounds of asparagus. Buy 200-count pre-cut pints and quarts for everything you portion repeatedly.
On a year of weekly meal prep — call it 200 bags — the spread between $0.10 pints and $0.25 rolls is $30. That's not enough to agonize over, but it is enough that buying rolls because someone told you rolls are cheaper is a mistake worth not making.
Reusable silicone vacuum bags are the third option. They cost $3–6 each and survive dozens of cycles, so they break even against $0.125 pre-cut bags somewhere around the 30th use. They're the right call for the bags you cycle constantly — the weekly chicken bag, the vegetable bag — and the wrong call for anything you'll bury in a chest freezer for 18 months, because you want that bag back on day 550, not sitting in the freezer as a $5 asset. Never reuse any bag that held raw poultry, pork, or seafood.
Common pitfalls
Sealing a bag with a greasy mouth. Fat on the inside of the bag mouth prevents a thermal bond. Fold a 2-inch cuff outward before you fill the bag, fill it, then unfold the clean cuff into the seal channel.
Overfilling. Leave 3 inches of headspace above the food. Below that, the food gets pulled into the seal channel during evacuation and you get a channel-through-food seam that leaks.
Sealing bones and sharp edges bare. A rib tip or a frozen chicken wing will puncture a 3-mil bag during handling. Wrap the sharp end in a square of parchment or plastic wrap before sealing.
Sealing anything warm. A bag sealed at 90°F condenses inside as it cools, and that condensate becomes an ice glaze that wrecks texture. Chill food to fridge temperature before sealing, always.
Skipping the date label. Every vacuum-sealed bag looks identical at six months. Write the contents and the date on the bag before you fill it — pen doesn't take well to a taut, cold bag.
When NOT to vacuum-seal
Vacuum sealing removes oxygen, and removing oxygen selects for anaerobic bacteria — including Clostridium botulinum. Refrigeration alone does not stop it. So:
- Never vacuum-seal raw garlic in oil, or any low-acid vegetable in oil, and store it in the fridge. That's a botulism setup. Freeze it instead, or don't seal it.
- Never treat a vacuum seal as a substitute for refrigeration. A sealed bag on the counter is a worse place for food than an unsealed one in the fridge. Sealed food follows the same time-and-temperature rules; see the FDA's cold-storage guidance for the specifics.
- Don't vacuum-seal soft cheeses, mushrooms, or fresh-cut alliums for fridge storage. Soft cheese and mushrooms want to breathe; alliums go anaerobic. Hard cheese is fine and lasts months.
- Don't vacuum-seal bread you plan to eat this week. The pressure compresses the crumb permanently. Freeze bread in a zipper bag; vacuum-seal only if it's going into deep storage and you'll toast it on the way out.
- Don't seal un-blanched vegetables for long freezer storage. Enzymes keep working at 0°F. Blanch first — the National Center for Home Food Preservation's freezing guidance covers times by vegetable — then chill, then seal.
For the physics of why any of this works, Wikipedia's vacuum packing article is a decent primer on oxygen scavenging and barrier films.
Related shop links
- Small Appliances — every sealer above, plus circulators and food processors
- Storage & Containers — bags, rolls, jar sealers, and the containers a sealer doesn't replace
- Best Meal Prep Containers in 2026 — the fridge half of the system
- Best Sous Vide Machines 2026 — the circulator to pair with these bags
- Freezer-Friendly Meal Prep: 20 Recipes — what to actually put in the bags
- Batch Cooking Basics — the Sunday workflow a sealer plugs into
- Best Canning Supplies and Mason Jars 2026 — for the jar-sealer path
If you buy one thing off this page, buy the $34 MEGAWISE and a 200-count box of quart bags. If you're still sealing bags in three months, the $140 FoodSaver will feel like an obvious upgrade — and if you aren't, you're out $59 instead of $235.
Frequently asked questions
External vs chamber vacuum sealer — which do I need at home?
How long does vacuum-sealed food last in the freezer?
Can I reuse vacuum sealer bags?
Do I need a special vacuum sealer for sous vide?
How much do vacuum sealer bags cost per meal?
How we picked
This guide is researched, not bench-tested. We shortlisted products from the AislePrompt kitchen catalog and compared them on published manufacturer specifications (materials, size, capacity, warranty), on what owners report in published reviews, and on any third-party sources linked in this guide. The guide was drafted with AI assistance. We did not run lab or hands-on tests of these products, so any measurement quoted here comes from the manufacturer or a cited source. Prices change often: use the “Check price on Amazon” buttons for today’s price.
Sources
Recipes to try with your small appliances
Put your gear to work — save any recipe to My Recipes (no account needed) and send its ingredients to Instacart in one tap.
Shop small appliances on AislePrompt →Browse the full kitchen shop →
Times and temperatures, sorted.
Ask our AI for sous vide cuts worth starting with — it gives the time and temperature and sends the shopping cart to Instacart.
Get sous vide recipes →